Showing posts with label Printable. Show all posts

1.02.2016

Yearly Savings Schedule

With the New Year comes new goals. One for us as a family, along with using our Budget Binder to help us to stay on track and pay off debt, is to start saving money too.

To help with this, and so it would not seem like such a big task I came up with a weekly chart to help save a little at a time instead of trying to do larger amounts every once in awhile. I actually saw this idea float around FaceBook a year or so ago and am excited to try it now.

A savings plan would be great for the kids to get involved in too. At a young age it can teach them discipline and self confidence.
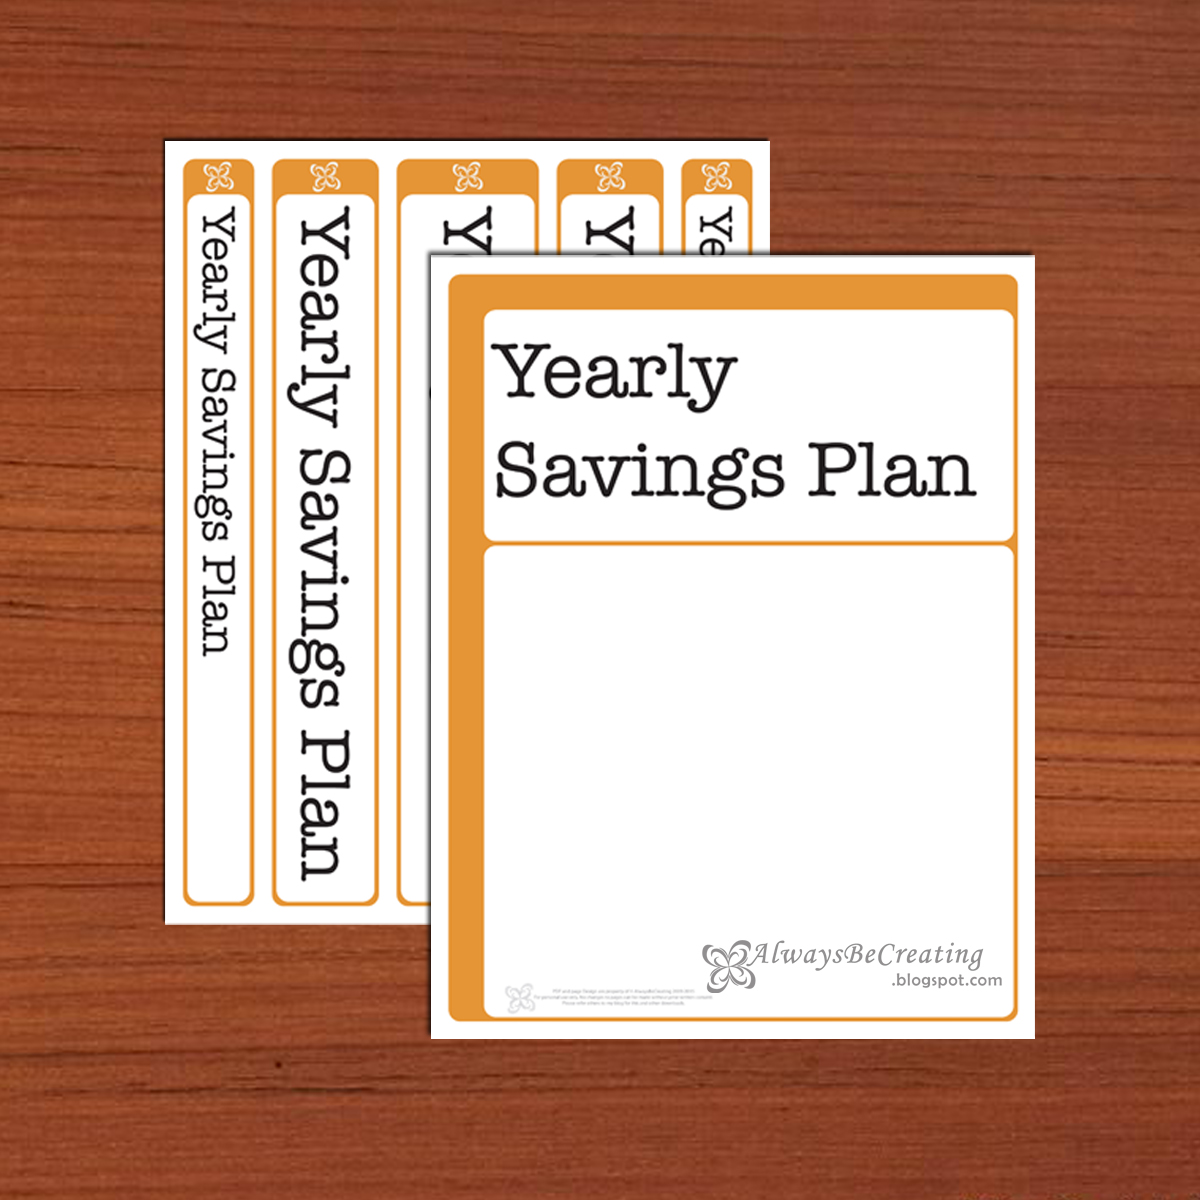

To make your own Yearly Savings Plan you will need the same items used for the Budget Binder, at the very least a binder and these free printables. You can also use dividers, page protectors, laminator {yes I'm a dork and love mine} with pouches, hole punch and pens.


The pages included in the Yearly Savings Plan are:
Binder Cover and Spin Slip {in 3 different widths}
3 Black and White pages
4 Colored pages


The first plan starts at $52 a week and every week decreases by $1. Total = $1378
Next, $25 each week {orange chart only}. Total = $1300
One for the kids that starts at $26 and decreases by $0.50 each week. Total = $689
Finally a blank sheet.


Pick a savings plan that works for you {in our case we are doing one for each of our girls as well}. Then decide on which day of the week you will put that money aside. There is a spot on the top to fill in a name on the charts, you know, incase you are doing more than one so you can keep them all straight. Follow the chart to create a savings for the end of the year. Right now we will be using ours to help pay of those yearly expenses that come up once a year or every few months.


If there is a certain amount you are trying to reach after a year of saving, use the blank form. For example, let's say you want to save $1500 by the end of the year. 

Simply take $1500/52 weeks = $28.846..... per week.

Fill in the cart and set aside $29 each week and that will be $1508 for the year.

I sure hope this helps you in coming up with a savings plan that will work best for you!


What are some of your goals this year? We seem to be focusing on financial and physical ones this year, yes I even got my husband to commit to it. Here is to a great 2016, I hope you achieve all you set out to do.

Here are some of my other binder printables


Check out our Moving Binder

Here is my Checklist for Weathering the Storms 

12.24.2015

Our Budget Binder

Since being married we have ALWAYS been college students. We both did our undergrad at Utah State University then Paul was accepted to UConn as a lighting design Grad student. He was able to get his tuition paid but fees and living expenses were up to us. As a new mom and in a new area with no contacts and babysitters we decided to have me stay at home.


After doing all that we could we still needed to take out some student loans. We have heard from others about what they owe, and oh my goodness! People it's OK to take out loans, when we use them as a tool to help us move forward, just remember to be smart. You WILL have to pay those back and they will be with you like a nasty cough until they are paid off.

Now that Paul has been working full time this last year and a half, it has been an eye opener. We can not just go take out $1-2K in loans anymore when we need it. This has really made me wish I had done better about our budget during school but grateful we were pretty frugal during that time too.


As we are trying to pay off debt and not go into more debt I have come to appreciate having a budget for the family and how much it can really help us. When we first moved to KY we met some friends {OK, basically I looked them up from our church and said we were moving to the area and when we were planning on being there} and they shared a website they use to track their budget. We really liked the idea behind it but it was a bit too much for us. And for some reason it kept counting the money from one of our accounts twice so the numbers were always off.

There are also some things I do better with when I can write it down and see it right in front of me. So I came up with a budget binder!!!

I remember growing up seeing my mom sitting at the kitchen table with their processed checks, bank statements, CC bills, etc and balancing their accounts. I really love math and numbers, in college I took extra math classes for fun, and so it was great to see everything balance out by the time my mom had gotten done. It made my little OCD heart happy! 

Now, I am no professional by any means, but I have put together these printable sheets to create our Budget Binder. They have been great!!!! Over the last two months we have been using this to keep track of our budget and I have made a couple of tweaks to the pages. If you have any suggestions please feel free to leave a comment, I would love to hear from you.


To make your own budget binder you will need at the very least a binder and these free printables. You can also use dividers, page protectors, laminator {yes I'm a dork and love mine} with pouches, hole punch and pens {you could even do colored ones to go one step further and color code your spending to help you see where your money is going}.


Here are the pages I have available with this free printable:
Binder cover and spine slip
Year at a Glance
Perpetual Yearly Spending
Perpetual Monthly Spending
Monthly Spending
Debt Tracker
Savings Tracker


We filled in the perpetual monthly and yearly expenses then laminated the sheets. This way as I continually handle them and look at them through the year, they won't get ruined. This is also great to keep in the back cover of the binder so I can take a quick glance at it when I need to see which bills are coming up.

Now, once a weekend Paul and I sit down and look over the accounts, making sure everything adds up correctly. Using a budget has helped us a lot, mostly in being able to keep from adding to our debt while also being able to start paying it off. Yippy! One step closer to financial freedom.

There it is. A few simple sheets, a little bit of discipline and we are getting our budget in order.

Start a Yearly Savings Plan with this printable

Check out our Moving Binder

Here is my Checklist for Weathering the Storms

I was FEATURED!!!

I was featured at

8.07.2013

Wipes Case Cover

I needed to add a bit of style to my diaper bag so I decided to start with the wipes case. It seems like I have been using grey in everything lately but it seems to go with everything. This combination of yellow and grey from my material is great, made even better because it was in the remnant bin at Joann's so it was super cheap.


 Wipes Case
Cotton material
Felt sheet
Ribbon
Glue gun
Scissors
Template that you can down load from here.


Print the template and cut out the pattern for the material. Use it to cut two pieces of fabric.
Now cut the pattern down to the size for the felt piece and cute two pieces from the felt.

*This is a rough template and designed to help give the basic size and design you'll need.

Hot glue the felt to the top and bottom of the wipes case, keeping it centered.
Tips: To help keep the felt centered I used tape on either end and hot glued sections at a time. I kept my hot glue thin so it wouldn't be bump. At the corners cut a little triangle out so that it will lay flat then glue down the sides.

Hot glue the cotton fabric in place, trim any edges that need it. The order I did glued down the fabric was: back, front, sides, corners. Then trim any excess around the edges.

Now use the hot glue to place the ribbon around the edges.

Now there is a bit of color to the diaper bag. Yea!! From here you can add any embellishments you would like. Lady A loves to tear things apart so I opted not to add any embellishments to this one.

5.02.2013

Mothers Day Donation Digital Downloads

  Here are the latest Digital Downloads for Donations

 
My husbands cousin, Hunter, is a young man {14 years old} who loves his family and being a brother to an older and younger sister and one younger brother. He is very spirited and enjoys to play games and play jokes on people. At eighteen months old his Dr.'s diagnosed him with Cystic Fibrosis Pancreatitis, that causes him daily pain. He had to have a Total Pancreatectomy with Auto Islet Transplant, in short, that means a full day of surgeries. Check out his page on FaceBook to read more about his story.

Hunter and his mom were in Minnesota for a few months while Hunter had surgery and has been recovering. It has been a long road to recover, meanwhile, he has had multiple other surgeries do to complications and the bills are adding up. The surgery takes a year to recover and the family needs to raise money for medical expenses.

Hunter and his mom made the long drive home to Utah a couple weeks ago. As I have followed them, thinking about what Jen has done as a mother, well, very inspirational. Hunters family is doing what they can to help lift some of the financial burden for Hunters parents. Because we are in Connecticut we haven't been able to participate in the fundraiser dinners, benefit concerts or other activities I have come up with another way for us to help. For Mothers Day I have designed cupcake toppers and other printable pages that you can purchase, the money from this will go toward Hunters medical bills. I love these little tags because they can be used for so many different things: cupcakes, party favors, cards, scrapbook/memory albums, the list goes on.

Just go to my Donations tab, choose which set of tags you want, enter your donation amount then checkout. You will be emailed a link for an instant download. Come back again to check out my next Digital Downloads for Donations that will be available for Hunters fight.

2.21.2013

Weathering the Storm ~ Checklist

Since living in Connecticut we have gone without power more here, in 1 ½ years, than we have living anywhere else. I’m not sure I could call myself an expert just yet but we are getting pretty good at weathering the storm.

When we first moved to CT, before we even had a place to live, we were crashing in a friends basement and lost power that weekend. When Abigail was two weeks old we lost power for nine days from Hurricane Irene. Last fall we went without power again and this time, I would say, was the hardest. We were on well water so when the power went out the water stopped as well, the stove was electric as well and Abigail was a rambunctious one {1} year old.

Paul and I love to camp so we had a number of items already that could help in a power outage situation. So, now I am going to share with you my list of things to have ready and other things to prepare right before the storm. I have also included other tips, some that we thought up and acted on before the storm and some that we figured out the hard way. I'm sharing my list but I think I will keep to myself which ones were added after the storm. Wink, Wink!


Click here and download the files for yourself. I will be printing off my list and put it in my Moving Binder, that has now become our home binder since we have moved.


This is her third {3rd} once-in-a-lifetime/record breaking storm. She had no idea what to do with so much snow. The older kids in the neighborhood were in heaven ... once they could go outside and play in.

Here are some of my other binder printables


Start a Yearly Savings Plan with this printable

Check out our Moving Binder

2.10.2013

Valentine Chalkboard Printable

Here is my second attempt at making a chalkboard printable. I downloaded the chalkboard backgrounds from here. I put mine together in Photoshop but you can create it in Picasa just as well.
Simply open the chalkboard background in the color of your choice, then add your text on top. For Christmas I got a Samsung Note and absolutely love it. I wanted to have a bit of a hand drawn element to this one so I used the note to draw the heart. After a little bit of photoshop magic I was able to remove all the background and change the color to pink. If you would rather, you can download mine and print so you can add it to your own Valentine decor.
This is a 8.5"x11" so you can 'shrink to fit' if you are printing it to a smaller size. Enjoy!!

~Mindy

1.13.2013

Our Moving Binder

After first getting married Paul and I stayed in the same place for 4 1/2 years. It was just a little Town Home but it was perfect for us. After Paul graduated we started moving and haven't stopped. We are moving again at the end of the month, this will be our 5th move in 2 years. Our biggest move was in my third trimester, from Utah to Connecticut, and the last three moves have been with our baby.

I have come up with a couple of tools to help me stay organized during my moves. Here is my moving binder and box labeling tabs.

Here are the sections for my binder:
Home 4 Sale {Out with the Old...}
Home 2 Buy {In with the New...}
Moving Costs
Moving Checklist {Out with the Old...}
Moving Checklist {In with the New...}
New Area Info
Contact List
Receipts

 
Every section has a opening page and a few more blank pages for all my notes. I have filled in a few spots for the basics but left plenty of room for you to fill in your own list of "To Do." The Moving Checklist has one page of suggestions and a completely blank one, this way you can print off as many as you need and fill it in with your own list.

For the receipts section I included a pencil pouch to hold my receipts.

There are a few things that are necessities when moving into a new place and having to search through a bunch of boxes looking for those few items can get a little frustrating. So I have developed a list of things that we need to have 'First on the Scene' when we get to our new place. There are also box labels included. These can simply be printed out on a sheet and cut out using the trim marks or printed onto label sheets. They have an assigned room and space to include a description of what is in the box. We all have different spaces and places so there is a blank sheet of labels as well so you can print out as many as you need for what ever the size of your move. If you choose to print and cut out the labels you can place them in the pencil pouch to hold them until you are ready to tape them to the boxes.

If you want to download my pdf's simply click here. In short there are 9 binder pages with 2 blank 'To Do' lists, 5 box labels sheets with rooms listed and 1 blank box labels sheet.

UPDATE: The moving binder and pages worked out great!! Everything was kept together and right where I needed them. I must say my favorite part was the boxing labels. For every box I put a label on top of the box, back left corner and another on the front of the box, top right corner. This way, however the box was packed in the truck, one of the corners would be visible so we could now what was in it and where it needed to be put in the new place. LOVED IT!!! This will be used every time we move from now on.


***UPDATE***
{4 June 2013}


I am really feeling the love. This has been my most popular post and a huge number of you have downloaded my Moving Binder pages. {I didn't think it would be this big of a hit.} 

I went back over the box labels and added some color, so now your boxes will be color coded as well. YEA!! There are even separate colors for three different bedrooms and bathrooms and two blank colors. Here is the link for the new labels and pages. If you want the original, click on the link further up the page.

Happy Move!!

Here are some of my other binder printables


Start a Yearly Savings Plan with this printable

Here is my Checklist for Weathering the Storms 

LinkWithin

Related Posts with Thumbnails