I wish I had this little beanie finished when my little lady was born. How cute is that!?!?!
This soft and cozy Bear Beanie is an adorable
finishing touch for your little ones outfit to out out on those chilly
days. It's also a great photo prop, you won't be able to resist those
round cheeks. This one fits up to 14 inches and is stretchy.
MATERIAL & CARE:
100% Super Soft Acrylic
- Cap
98% Acrylic, 2% Polyester - Ears/Brim
CARE: Use gentle
detergent, warm water. Pat dry, lay flat to re-shape and finish drying.
Do not bleach or iron
If you want to order one for your little darling check out my shop here.
I have set up this site as a place to display some of my different designs and ideas. ENJOY!!!
Showing posts with label Etsy. Show all posts
9.21.2012
Open Weave Beanie with Ear Flaps and Tassels ~ Choose You Colors
I made a beanie for my niece the first Christmas after she was born. Her parents tell me all the time how much she loves her beanie and share pictures of her in her every day activities wearing the beanie. Over the summer I made a larger one for her {she is growing} so that her mom could take turns washing them and in case the beanie gets left somewhere on accident {it happened once and was not pretty}. The beanies are the exact same color and style so my niece won't realize when she is wearing the 2nd beanie.
She now has a sister and of course I need to make her one but I wanted to make sure it was one just for her. This is the beanie I came up with and could not be more pleased. I immediately made one for my little girl ~ now I just need to get her to leave it on her head, she doesn't even like bows clipped in her hair. But the beanie is cute enough that I will keep putting it on her until I win the battle.
Check out my shop if you want one for your little one too!
9.21.2011
Custom Order to Australia
This was a custom order that I did over the summer. How cool is that, my largest order so far is also my first international order too. She knew exactly what she wanted and was great to work with. Check out all the fun colors she chose for her family. If you would like to make a custom order go to my store {AlwaysBeCreating} and send me a convo.
8.05.2010
My Perfect Flower
What do you think?.....
7.20.2010
Organize
As I am sure you have gathered, I love to create things ~ easy, hard, simple, intricate ~ whatever it is, I always find a release in creating and designing. One thing I love to do is sew, it's one of those skills that my mom made sure we knew how to do growing up that has turned into a hobby. When I was in high school I designed clothes. The past couple of years the spark for quilting has been rekindled and someone can never have too many bags. For the past couple of years I have been designing patterns for the perfect bag. I have come to find that there is no 'perfect' bag, just a perfect bag for each situation.
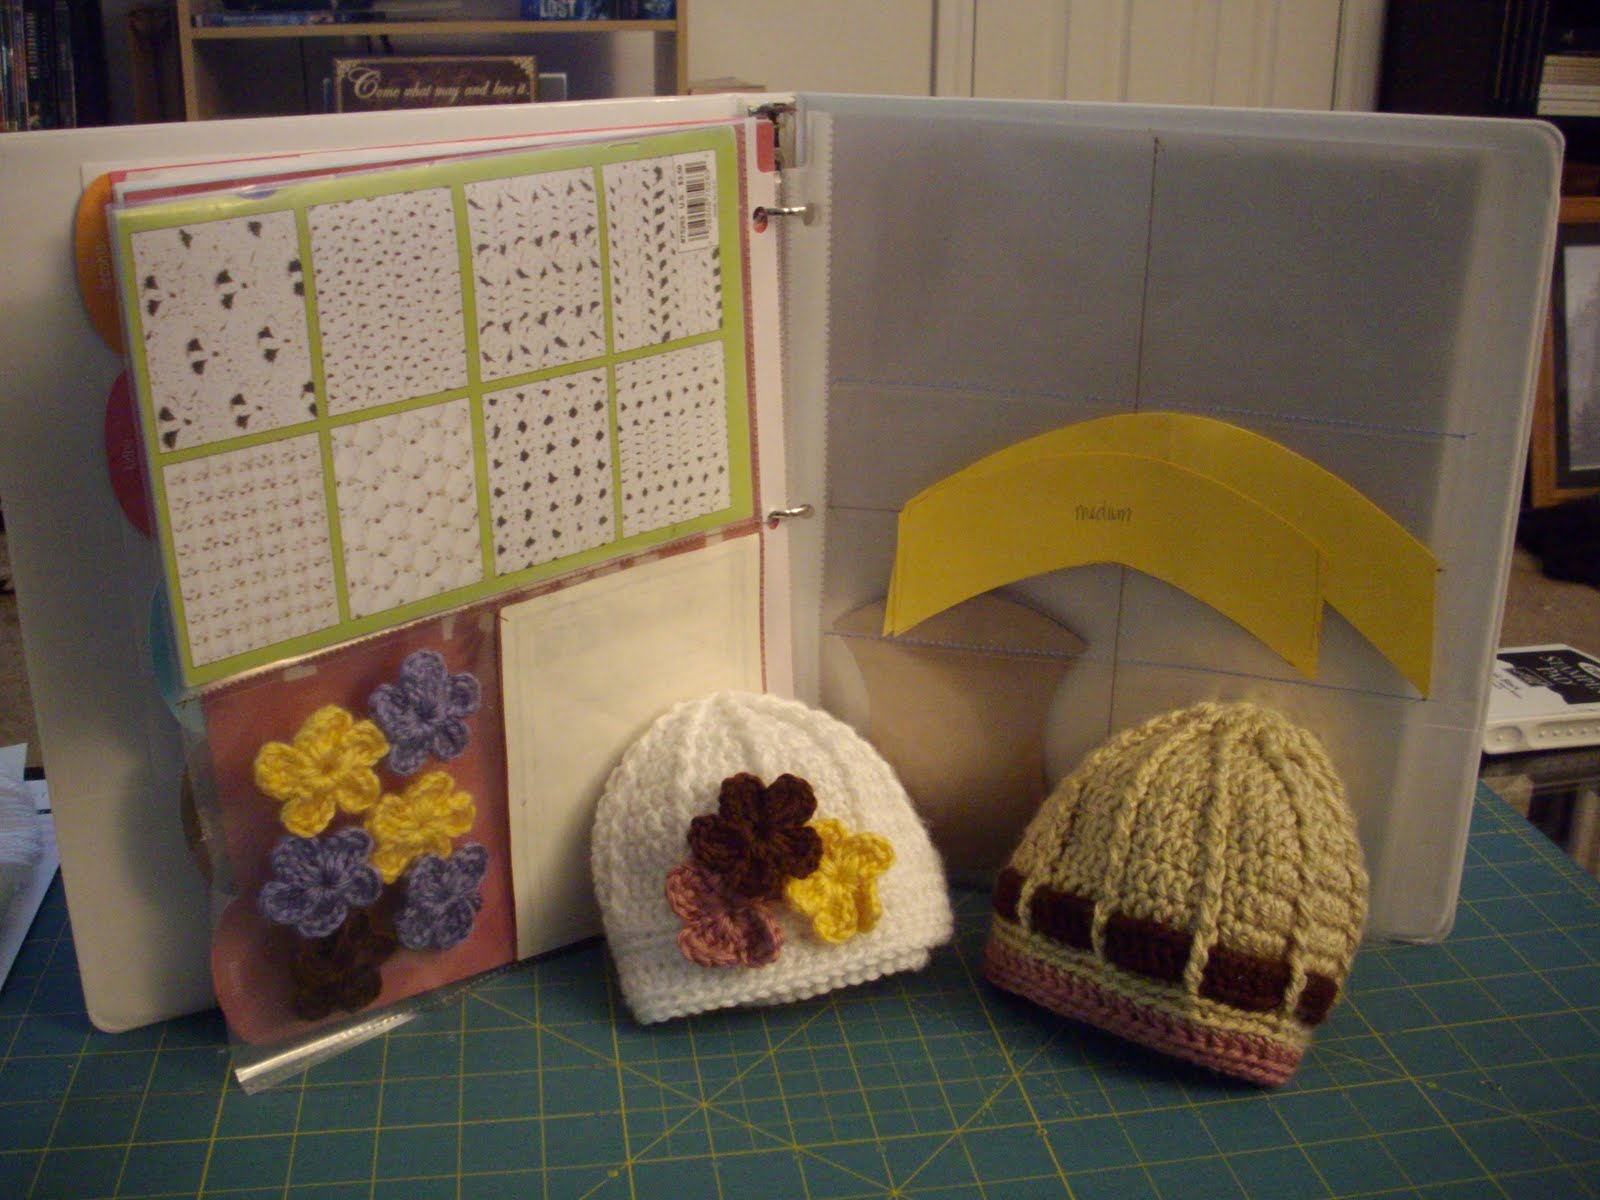
I have this small old binder that I have been putting my crocheting patterns in along with templates for quilts and other little nick-knacks. I was just using page protectors to toss everything in if I couldn't put a hole punch in to. It worked out pretty well to hold all those things and keep them in one spot. The only problem is that everything sinks to the bottom and the binder becomes lopsided.
1st Step: take a thin piece of cardboard that fits into the page protector and draw a line on it as to where you want to make the pockets for the lower sections.
2nd Step: Take an exacto and cut along that line. {If you stitch before you cut the extra openings it hard to then cute it without going through the other side.}
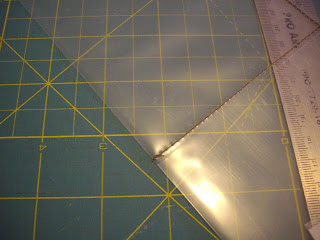
3rd Step: When setting up my machine I put the length of the stitch to almost as long as it would go. If the stitches are too close together then as the needle goes through it will end up perferating the page protector and make it easier for it to tear along the stitches.
4th Step: Since the page protector is clear it was easy to look at the guides on my machine. If I was stitching where a cut was I left an 1/8th in seem allowance.
On the one's where I wanted to do a vertical stitch I took a piece of masking tape and placed it further in on the arm as my guide.
5th Step: Back stitching is out of the question, again, because we don't want to perforate the page protector to the point that it tears. I pulled both piece of thread to the back and simply tied them in a knot.
Final Step: Fill and stay organized!!! The binder has tabs that I have used to seperate the different types of mediums {for example crocheting and sewing}. These 'new' page protectors help me to keep my instructions and templates organized with everything else as well!!
I hope you enjoyed the tutorial.
As always ~ with every tutorial, if you like the idea but would rather purchase, leave me a comment. I'll set up a sale on my ETSY shop.
6.09.2010
Watches
I just saw someone wearing the cutest watch! It was one of those watch faces that goes with the ribbon watch bands or the big bead bands that you see so many people wearing lately. It was made out of fabric and she wound it around her wrist a couple of times then tied it in a knot. I'm NOT (hahaha) a big fan of finishing it that way so for myself I am going to come up with a different way to finish it off. If/when I figure it out I will be sure to post pictures and put some up for sale.
4.02.2010
Coming Soon!!!
Ok, I know it has been awhile, but it has been crazy around here. Just last night I was over at my directors house ~ I am a beauty consultant for MK as well ~ and she had the cutest headband on with a flower. As we got talking I told her that I made beanies and found out that she made the headband and flower. I tried looking at some patterns for flowers ~ lets just say I am more of a visual learner instead of a pattern person when it comes to these flowers designs. Anyways, I am so excited, we are going to get together in the next little while so she can show me how she made the headbands and flowers and I will teach her how to make my beanies. I am so excited to finally learn how to do crocheted flowers, they will look so cute on the beanies.
Watch for them to come soon!!
1.25.2010
Sale ~ Sale ~ Sale
This week (January 26-30) I am having a sale at my Etsy shop. Everything will be at least 15% off the original list price. If you have a custom order this week, that will receive 15% off as well.
Take a minute to look around. Like I have said, everything in my shop was designed originally for my self or someone else so there is sure to be something for you, from Beanies ~ Recipe Cards ~ and Digital Prints. If you don't see exactly what you are looking for, convo me and we can get it done.
1.20.2010
Cards for that Special Someone...
Cards for that Special Someone...and all those special people in your life.
Tell all those you care about just how much they mean to you. This is a fun and simple card to be able to do just that. The font was really fun to work with and adds a lot of character. Is there a specific sentiment that you would like?..... No problem. Just let me know at time of purchase and I would be happy to change the font of the card to whatever fits you. Simply stated on the inside 'Happy Valentines Day' leaving you room to write a note of your own.
Each set comes with 4 cards (4.25 in x 5.5 in folded) and 4 matching red stylized envelopes.


Tell all those you care about just how much they mean to you. This is a fun and simple card to be able to do just that. The font was really fun to work with and adds a lot of character. Is there a specific sentiment that you would like?..... No problem. Just let me know at time of purchase and I would be happy to change the font of the card to whatever fits you. Simply stated on the inside 'Happy Valentines Day' leaving you room to write a note of your own.
Each set comes with 4 cards (4.25 in x 5.5 in folded) and 4 matching red stylized envelopes.


Labels:
Card,
Etsy,
Invitation,
Valentines
1.14.2010
Circle Recipe Cards
This set of 4x6 recipe cards were fun to create.
I use them all the time and my mom showed me a fun way to organize my recipes. She has a photo album for 4x6 picture slots and has organized her cards in there. It is fabulous way to keep everything in one spot.
The set comes in a package of 25. You can mix and match the colors how ever you want or request custom colors. Cards are printed on 110 lb Card Stock.
These make a great gift and are fun to have at events like bridal showers. I can also print double sided if more space is needed.
ENJOY!!
I use them all the time and my mom showed me a fun way to organize my recipes. She has a photo album for 4x6 picture slots and has organized her cards in there. It is fabulous way to keep everything in one spot.
The set comes in a package of 25. You can mix and match the colors how ever you want or request custom colors. Cards are printed on 110 lb Card Stock.
These make a great gift and are fun to have at events like bridal showers. I can also print double sided if more space is needed.
ENJOY!!

Subscribe to:
Posts (Atom)