Showing posts with label Paper. Show all posts

1.02.2016

Yearly Savings Schedule

With the New Year comes new goals. One for us as a family, along with using our Budget Binder to help us to stay on track and pay off debt, is to start saving money too.

To help with this, and so it would not seem like such a big task I came up with a weekly chart to help save a little at a time instead of trying to do larger amounts every once in awhile. I actually saw this idea float around FaceBook a year or so ago and am excited to try it now.

A savings plan would be great for the kids to get involved in too. At a young age it can teach them discipline and self confidence.
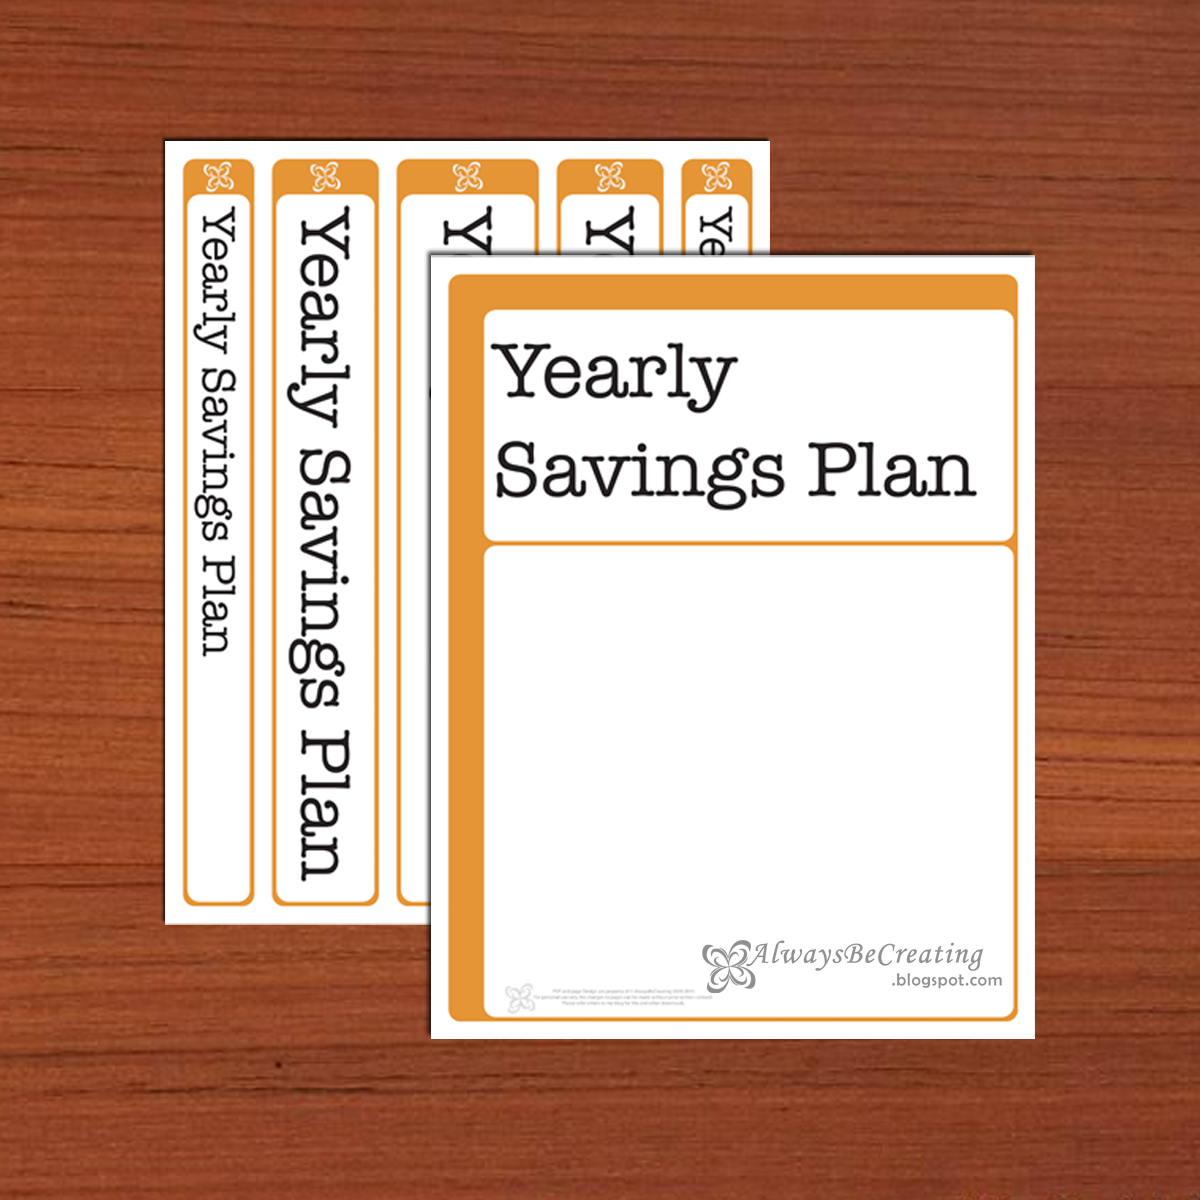

To make your own Yearly Savings Plan you will need the same items used for the Budget Binder, at the very least a binder and these free printables. You can also use dividers, page protectors, laminator {yes I'm a dork and love mine} with pouches, hole punch and pens.


The pages included in the Yearly Savings Plan are:
Binder Cover and Spin Slip {in 3 different widths}
3 Black and White pages
4 Colored pages


The first plan starts at $52 a week and every week decreases by $1. Total = $1378
Next, $25 each week {orange chart only}. Total = $1300
One for the kids that starts at $26 and decreases by $0.50 each week. Total = $689
Finally a blank sheet.


Pick a savings plan that works for you {in our case we are doing one for each of our girls as well}. Then decide on which day of the week you will put that money aside. There is a spot on the top to fill in a name on the charts, you know, incase you are doing more than one so you can keep them all straight. Follow the chart to create a savings for the end of the year. Right now we will be using ours to help pay of those yearly expenses that come up once a year or every few months.


If there is a certain amount you are trying to reach after a year of saving, use the blank form. For example, let's say you want to save $1500 by the end of the year. 

Simply take $1500/52 weeks = $28.846..... per week.

Fill in the cart and set aside $29 each week and that will be $1508 for the year.

I sure hope this helps you in coming up with a savings plan that will work best for you!


What are some of your goals this year? We seem to be focusing on financial and physical ones this year, yes I even got my husband to commit to it. Here is to a great 2016, I hope you achieve all you set out to do.

Here are some of my other binder printables


Check out our Moving Binder

Here is my Checklist for Weathering the Storms 

11.23.2015

Fan Pumpkin Garland


Here is a simple and cute garland that can be made in 30 minutes.


My daughters thought they looked great hanging across our walkway arch and I am excited to share them with you.


This is one craft that you can do with the kids, it will probably be easiest if you do the prep work first, then have the kiddos join you.


MATERIALS/SUPPLIES
Construction Paper {cardstock or patterned paper}
Pipe Cleaners {orange and green}

NOTE: I did green paper and pipe cleaners so I could try them both out and see which one I liked better for the stem.

TOOLS
Wire snips
Tiny hole punch {I used a Provo Craft Silent Setter that has 3 sizes of punches}
Paper cutter


INSTRUCTIONS
Cut the paper into strips. I did 6"x1/2" and 8"x3/4".

Roll the green paper around a pen or pencil. Find a way to secure it. This will add a spiral to the stem.

Cut the pipe cleaners. I cut a few different lengths so I could test them out and see which one I liked.

Punch a hole at either end of the orange strips and one end of the green srips.

TIP: To do larger pumpkins I would suggest using a thicker paper, like cardstock. The paper strips started to get saggy the longer the pumpkin was hanging on the garland.

TIP: If you have little kids who want to help, I would suggest getting all the prep and cutting done first, then have them join you. wink, wink.


Grab eight {8} small orange strips or 12 larger orange strips, line up the ends and feed either end of the pipe cleaner through the holes on either ends of the paper strips.

Put a little roll and fold in the bottom of the pipe cleaner {it will keep the paper strips from coming off}. Add the green spiral piece of paper of paper to the top then roll and fold the top of the pipe cleaner.


Now fan out the paper strips to create a full circle.


To hang them on the twine garland take the top of pipe cleaner that has been folded over and hook it onto the twine.


TaDa!!!! Done and Done.

Hang them as garland or us them on a shelf as a display.

Share your fan pumpkin with me on Instagram. Be sure to tag me in your post and add #FanPumpkin


I tried doing a pumpkin with double the amount of strips and I did not like it as much for this project. You can use the picture above to see what they looked like.

2.13.2012

Tissue Paper Heart

Well here it is the night before Valentine's Day and I have decided that we need some kind of decoration to help us celebrate the day. Obviously my mind jumped to the image of a heart...but what to make?

Do you remember or did you ever do tissue paper designs? Here is what I came up with.

Enjoy!!

Step 1: Get your supplies
Frame, Scrapbook paper, tissue paper, accent pieces, pen/pencil, scissors and cutter.

 Step 2: Where to place the heart {shape}
First fold a piece of scrap paper in half and draw one side of the heart along the fold of the paper. When you cut out the heart and open it up, like magic, you will have a symmetrical shape.
Cut out a piece of scrapbook paper to fit the frame.
Now all I did was lay the red paper down, place the frame so it's centered, then put the heart {shape} cut out where I wanted it to go. {This helped so I could make sure to get the heart right where I wanted it}.
Go ahead and carefully lift up the frame, so it does not move you paper or heart, then lightly trace the heart {shape} on your paper

Step 3: Now to cut the tissue paper
I used a cutter to make 1 1/2" strips. Then I just eyeballed it over the cutting board to make 1.5"x1.5" squares.

Step 4: Using the tissue paper
Layer two {2} squares and rotate so they are not lined up. Fold around the end of a pen or pencil {the wrinkles and crinkles are a good thing, they add character}.
Now dip it in your glue {not too much}.

Step 5: Staying in the lines
I added some accent beads to the bottom side of my hear {used hot glue to make sure they would stay}. Now with glue on the bottom of your tissue paper stick them along the outline of your heart {shape}. Hold down firmly for a couple of seconds, this will help the glue seep through both layers of tissue paper.

Step 6: ENJOY!!
I love this little entry way set up.


10.14.2010

Personal Notepad

I created some simple order forms to take with me when I go to the HOPE Festival on Oct. 27th. To help keep everything together I wanted to put it all together in a notepad but I didn't want to pay for something so simple that I was sure I could do myself. So here it is - so simple and would be a fun craft to do with your kids {my niece and nephew}.

You'll need: paper, stamp and ink set, cutter of some sort, glue and some REALLY heavy books.


First you will need to create you design. I used a computer program since I was making order forms but this would be great to use stamps. Just get your favorite set and some varying ink pads. I printed mine first and added a guideline to the first page to help me cute in the right spot. If you are using stamps it might be easier to cut your paper to the desired size for the notepad.


After you have you notepad papers cut with their designs on them you are going to line them up. Make sure the edges that you want the glue to be on {in my case the top} is lined up as straight and flat as possible. Then you'll take your heavy books and place as close to the edge to be glued. This helps keep the notepad tight and keeps the glue from seeping into the separate sheets.
*Note with my books the binding edges didn't really lay flat on my papers so I turned them so the straight edge of the cover was right up to the edge.


Next, use the sponge to add the glue to the top of the flattened notepad papers. You can use your fingers or whatever else you might have around, this was just the easiest for me. After adding the first coat let it dry and add a second coat. My layers were pretty thick so I only needed 2 layers but add more if you think it's too thin.


Tada: your own personal notepad. If you are wanting more than one pad, stack up the paper in one pile. After the glue binding is completely dry, divide your notepad and just pull apart.


If you work on this tutorial I would love to see what you came up with!!

4.13.2010

Paper Mache Masks

Another activity we did over the weekend was paper mache masks.

For the YW activity we have this week we are doing the masks and it was my job to research it and figure out how to make them. So I spent some time on YouTube. With my niece an nephew this past weekend I wanted to try out mask making and see how it went. I also wanted to make sure I knew what I was doing so I could make any adjustments if I needed too. After a number of videos and recipes I actually decided I wanted to try plaster bandages, unfortunately we could not find them at ANY of the craft stores we checked.

What you will need:

We went with 2 cups flour and 1 1/2 cups water with about 1 tsp of salt for the plaster ~ just mix it all together. We then tour a bunch of strips ~ about 1x4 ~ from newspaper. We also got some white printer paper so the last layer would be white and it would be easier to paint.

How you do it:

To start you need to COVER you face with petroleum jelly. This will make it easier to get the mask off your face and keep your hair from getting stuck in the plaster. Now you need to dip the paper strips in the plaster and make sure to get both sides. I would then run my fingers down both sides to make sure and get the excess off. If too much is left on it will take a lot longer to dry. Then we let it dry ~ we helped it dry faster by using a blow dryer and holding the button for cool air. Then you repeat and add another layer. All the things I found said to do 4-5 layers but we were working with a 4 and 8 year old so we kept it to 3. For the third layer we did the white printer paper. After it had a chance to dry and stiffen up enough, we took the masks off and let them dry over night. In the morning we trimmed them to how the kids wanted them and after church we painted them.

Because these masks were not too thick I was able to use a hole punch and put a hole on both sides by the ears where we tied on some ribbon. The pieces were long enough to pull to the back of the head and tie the mask on.

The making off.
It was my nieces idea to pose like that under the bed.

Designing!!

Spider Man and Batman in one!

Ta Da!!!
My nephew loves Spider Man but the whole sticker would not fit on
so he put the leg and that is what you see in the middle of his forehead.

They absolutely loved them, which made me happy. They could not wait until their mom came to pick them up so they could show off their masks.

9.03.2009

Printable Planner

While in school I came up with a planner that I could use in my binders. It needed to be something that could be printed off whenever needed. This has plenty of room to write notes, grocery lists and sketch while waiting for the time to pass. ENJOY!!!!!

What a difference a planner can make!!! – Let me help you get organized.

This PDF contains all of you need to print and make your very own customized calendar and planner, including these 5 page designs:
Cover
Monthly Calendar
Weekly Calendar
Notes
Contacts

The page designs are very flexible, you put in the dates for any month and year. The perfect calendar, it can be printed off year after year and whenever you may need another sheet. A helpful gift to purchase this for your college student, I can even send it directly to them. The weekly page is great to write in the semester’s schedule.


You will have;
Letter Size – Print it, punch it and place in a 3-ring binder! Great for school binders.
Half Size – This is half the size of the letter pages, just as easy to use. With these ones I print about four months at a time to keep in my bag.

If you don't want to deal with printing and binding let me, convo me at my Etsy shop. I will do all the work and set up a reserved listing for you. Just let me know what size, color and number of months to be included.


Have fun Creating!!

8.06.2009

Dishwasher Tag

Earlier in the year we were told that our rent would raise starting with April. Since we know we will be here for a while yet we decided to sign another contract to keep our rent from going up too much. After we did the math it was still cheaper to stay in our place instead of finding a new one and needing to pay for a new deposit. During the end of the semester there was not a whole lot of time for large meals or the time to do tons of dishes. During the last while that we have been here without a contract I haven't wanted to call in anything unless I really needed to in case it would remind the landlords that we are here paying such a low rent compared to everyone. Now that we are in a new contract and they cannot raise the rent on us, believe that we are calling in on everything. To do my part to help out with the dishes I finally called in and told the property manager that our dishwasher has never worked, it just heats up the food and dries it onto the dishes, so we would like to get it checked out. The short end of it is we did not get the old one fixed, we got a new one.

It took us about a week to finally use enough dishes to fill it up and make it worth running. It worked so great. One night I turned it on to let it run. In the morning after breakfast Paul put our dishes in and turned it on again, so the dishes were washed twice. Once while we were over at my brother and sister-in-laws house I saw what they had on their dishwasher to keep them from washing the dishes twice or putting dirty dishes in on top of clean ones. To help us from repeating the same problem I decided to make my own version.

I have decided to sell them too, so if you would like one I am selling them for $7.
The tag and four large magnets is $10.


Custom colors are available. Leave me a comment and I will get in touch with you. The sentiment can be customized as well.

LinkWithin

Related Posts with Thumbnails