Showing posts with label How To. Show all posts

12.14.2015

Pony Bead Ornaments


Have you ever tried melting pony beads?

Well, it is fun, easy, the kids can join in on it and it doesn't cost a lot.

I know that the girls will want to play with the tree and all the decorations once we set it up so I decided to get a head of them and made some ornaments that would be ok for them to play with.


: : : : : : : : : MATERIALS/SUPPLIES : : : : : : : : :
9 mm Pony beads {check here for a huge range of colors}

: : : : : : : : : TOOLS : : : : : : : : :
Muffin tin {any metal baking sheet will work, even metal cookie cutters on a a metal sheet}
TIP: My tin was an old one I had. A second hand store would also be a great place to find a muffin tin.

: : : : : : : : : INSTRUCTIONS : : : : : : : : :
Preheat the oven to 400 degrees.


Place a single layer or beads in the bottom of the tin.


Bake for 25 minutes @ 400F.

Place the tin outside to cool. This will help keep the smell outside instead of in your kitchen and house.

When the beads are cooled, simply turn the muffin tin upside down, press on the back-center of each space where the beads are. They will simply pop out.

TIP: Depending on your oven you may not need to bake it that long, or you may need longer. Basically you need to bake it long enough that the bumps from the beads as the melt will smooth out.

TIP: Be sure to do this when you can open the windows and vent the space. Those beads stink when they are melting.

TIP: I have also heard of others who have baked it on the grill, outside, so it doesn't stink up the house.


Drill the holes where you would like.
String some ribbon in and Viola!!!!


My daughters love these little ornaments and so do I. We had some friends over to make some with us a few weeks ago and they were all so pleased with their own personal ornaments.

Other handmade ornaments


Rub-Ons


Silhouette Ornaments

12.08.2015

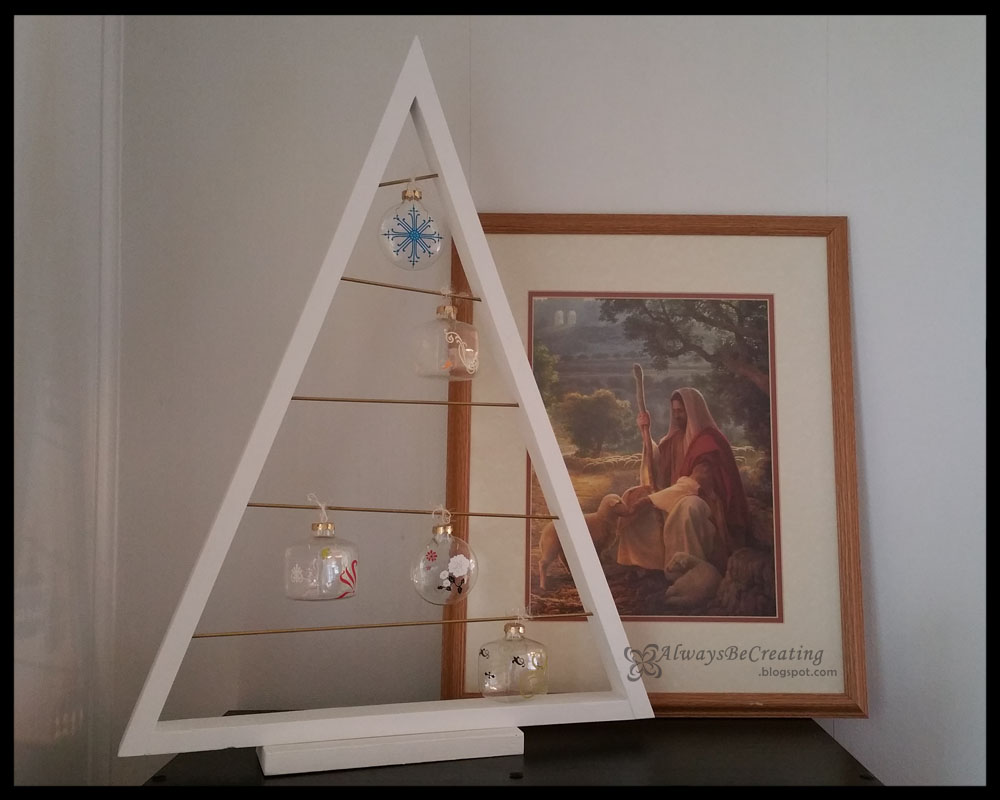
10 Minute Christmas Ornaments ~ No Personal Electric Cutter Needed


When it was just the two of us doing our undergrad, we always went to visit and stay with family for winter break. We were never "home" for the holidays so I never decorated. If I had, we wouldn't be able to enjoy any of it and when we go home after winter vacation I would have to dust it all and pack it back up.


One year while teaching some of the kids at our church, we had a Christmas party and made ornaments. It was a lot of fun and the kids were so creative. Years later I had parents tell me that their kids still had their ornaments and looked forward to hanging them on the tree every year.


That really gave me a boost to hear that the kids loved them so much.

These are super simple. Do not require any special equipment, and the kids can help.

: : : : : : : : : MATERIALS/SUPPLIES : : : : : : : : :
Plain Christmas bulbs {clear or colored}
Rub on stickers

: : : : : : : : : INSTRUCTIONS : : : : : : : : :
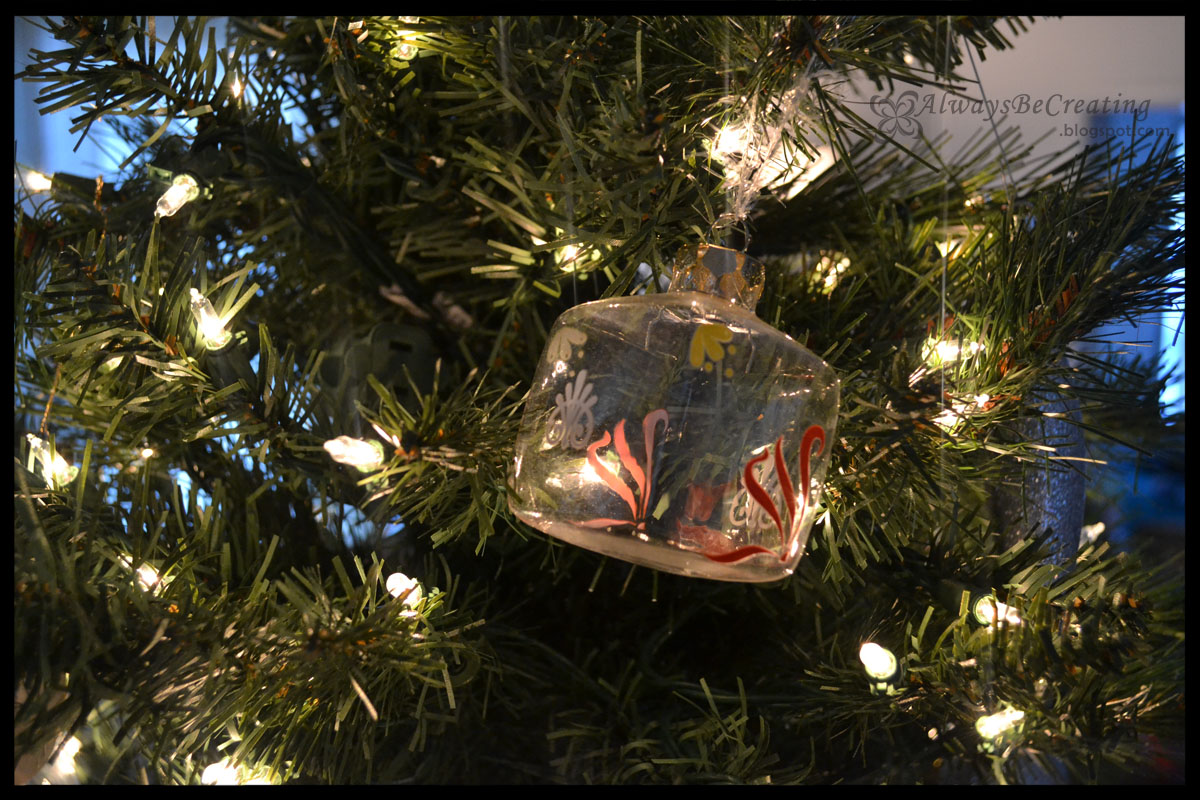
It is just as simple as cutting out the designs you want from the rub-ons sheet

Place it on your ornament .

Then rub the decal onto the ornament.


I like using the rub ons because they can have sharp and intricate designs without the fuss of needing to cut anything out and they stick so well.


You could try adding glitter or paint to the inside of clear bulbs as well.

This project is a great one to help add your own personality to your tree. The kids will also enjoy helping out. Share your project with me in Instagram. Be sure to tag me in your post and add #AlwaysCreate.


Other Handmade Ornaments


Pony Bead Ornaments


Silhouette Ornaments

LinkWithin

Related Posts with Thumbnails