Showing posts with label 10 Minute Project. Show all posts

12.08.2015

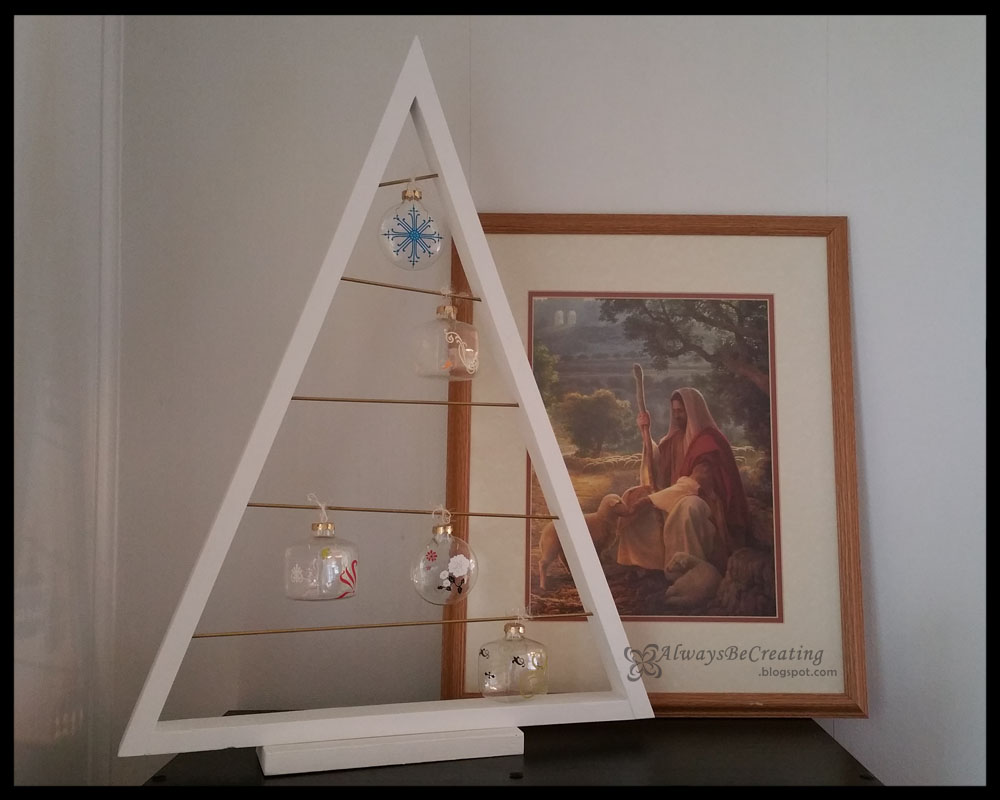
10 Minute Christmas Ornaments ~ No Personal Electric Cutter Needed


When it was just the two of us doing our undergrad, we always went to visit and stay with family for winter break. We were never "home" for the holidays so I never decorated. If I had, we wouldn't be able to enjoy any of it and when we go home after winter vacation I would have to dust it all and pack it back up.


One year while teaching some of the kids at our church, we had a Christmas party and made ornaments. It was a lot of fun and the kids were so creative. Years later I had parents tell me that their kids still had their ornaments and looked forward to hanging them on the tree every year.


That really gave me a boost to hear that the kids loved them so much.

These are super simple. Do not require any special equipment, and the kids can help.

: : : : : : : : : MATERIALS/SUPPLIES : : : : : : : : :
Plain Christmas bulbs {clear or colored}
Rub on stickers

: : : : : : : : : INSTRUCTIONS : : : : : : : : :
It is just as simple as cutting out the designs you want from the rub-ons sheet

Place it on your ornament .

Then rub the decal onto the ornament.


I like using the rub ons because they can have sharp and intricate designs without the fuss of needing to cut anything out and they stick so well.
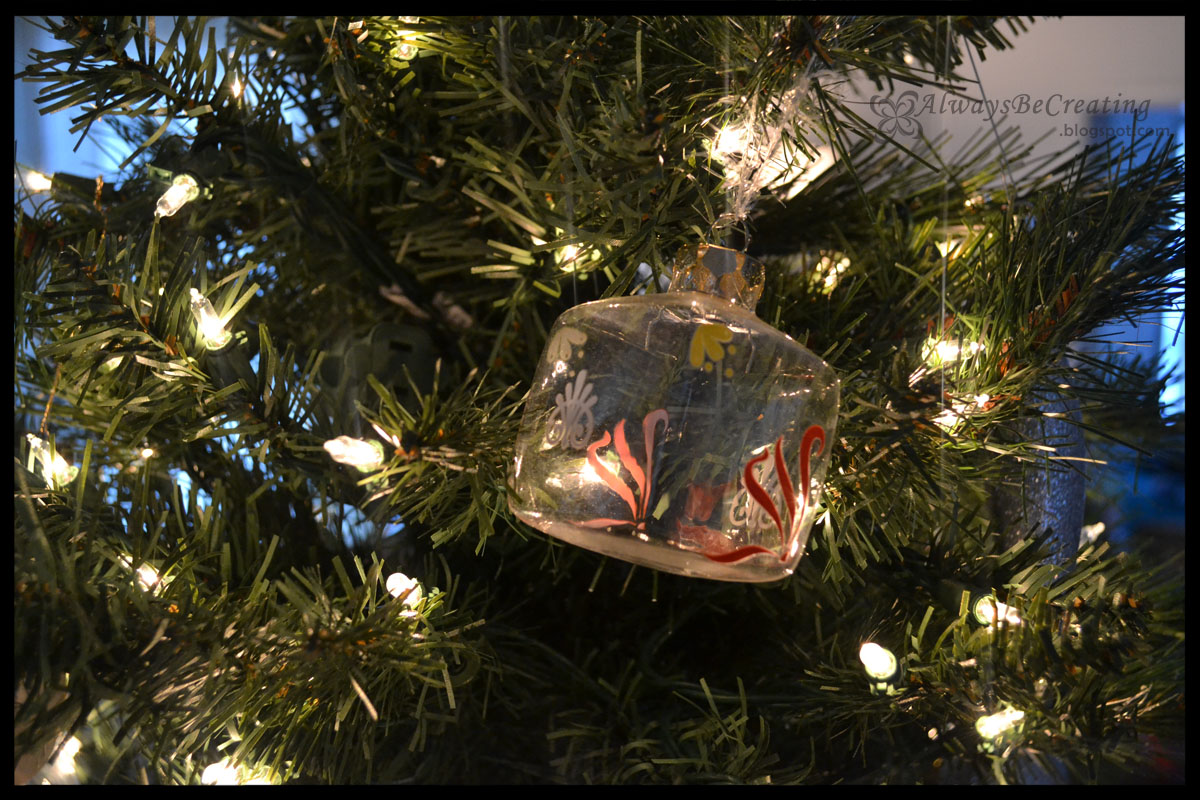

You could try adding glitter or paint to the inside of clear bulbs as well.

This project is a great one to help add your own personality to your tree. The kids will also enjoy helping out. Share your project with me in Instagram. Be sure to tag me in your post and add #AlwaysCreate.


Other Handmade Ornaments


Pony Bead Ornaments


Silhouette Ornaments

12.07.2015

Simple ~ Inexpensive Christmas Bulb Wreath


I love the combination of silver and blues, especially when decorating for Christmas. One year after the Holiday Season I found the perfect bulbs to create a wreath. After stashing them with our Christmas decor it was finally time to put it all together for this year.


: : : : : : : : : MATERIALS/SUPPLIES : : : : : : : : :

Wire Hanger {ones that do not have the plastic coating on them are best}
Christmas Bulbs {the 3 packs of 24 would have been enough but the silver were on sale too and I got those so I could have more silver in my wreath}
Ribbon {optional}

: : : : : : : : : TOOLS : : : : : : : : :

{If using a hanger with a plastic coating}
Pliers
Box knife

: : : : : : : : : INSTRUCTIONS : : : : : : : : :


Pull the hanger into the shape of a circle, it doesn't need to be perfect. 

Untwist the neck of the hanger. Since my hangers were covered in plastic I needed to use the pliers and box cutter to help me take off the plastic and unwind the neck.


{EXTRA STEP: When I tried to slide the bulbs onto the hanger I found that, with the plastic coating, it was too thick. So I simply sliced off the plastic coating then pulled the rest of it off. No big deal, it only added an extra couple of minutes.

When we were younger, my dad would bring home extra wire from job sites, we would strip it then my dad would take it in to recycle.}


Now just start stringing the bulbs on using loops on top of the bulbs.

TIP: As my daughter tried to help me move the wreathe she was pulling on some of the bulbs and they came apart from their tops looped onto the hanger. It was impossible to get them back on. I would suggest a small drop or two  wre the neck of the bulb and the top piece meet to hold it a little more firmly. Once all the bulbs are on, the drops of glue won't be seen. 

All that is left once you have your bulbs on is to twist the top of the hanger closed.

Go ahead and use the ribbon to tie a bow around the neck of the hanger, this will help to hide it as well. {I do not have a ribbon on hand and since there are no craft or hobby stores around, I will have to wait until we make it out next}


The great thing about doing this project digitally is that you can use the silhouette in so many different ways. Share your silhouette project with me in Instagram. Be sure to tag me in your post and add #AlwaysCreate.

4.15.2014

Some Bunny Loves You ~ Easter Thank Yous

It has been some time since I last posted. While I have still been working on projects it is blogging about them and sharing with all of you that has suffered. I am telling you, this little girl needs to get here quick, these last few weeks have not been enjoyable at all....and I would really like to get back to sleeping in my bed instead of the recliner.

That is enough about that ~ onto the fun Easter Projects I have been working on.

This one is a little 'Thank  You' for Lady A's nursery teachers. They have been so great! She loves showing us her pictures and getting us to sing the songs she has learned, I think it is because she mostly likes the hand actions that go along with them. Her teachers were also very patient with her as we went through potty training. I would not say she was difficult but she did have one or two accidents and it was hard to get her to sit up on those monster sized toilets at the church.

These were super cheap to make and even if you made more of them, say for the moms in a reading group, they would still be very reasonable.

Supplies:
Glass Jars $1 at Target
Two PDF downloads from here
Hot glue
Buttons from my stash {optional}
Pom-Pom {two sizes} from my stash
Jelly Beans {$2}
Twine/ribbon


I found the easiest way to clean the labels of of these jars is to let them soak in hot water. Give it about ten minutes then the label will just rub right off. Make sure they have time to dry before placing the candy inside and assembling the bunnies.

Cut out the ears and tag {I used an EKSuccess punch to give a little style to the tag}. If you have a scrap piece of white felt on hand you could also use the print out as a pattern and cut the ears out of the felt to make them soft and fuzzy. I tried having Lady A color some pink inside the ears but that turned in to a disaster so we just went with white.

Hot glue the small pom-pom to the front neck of the jar for the nose and the large on to the bottom back for the tail. Hot glue the eyes above the nose on the neck of the jar {optional}.

If you do paper ears, fill the jar with treats first, then hold the base of the ears down into the jar a bit and place the cork. This will keep the ears in place and won't require any gluing. 


Now take some ribbon or twine and tie the 'Some Bunny Loves You' tag around the jar. 

TaDa!!! Cute and simple. 


I like to reuse cute little jars like this and so that is why I choose to use hot glue. If the ladies wanted to they could easily remove the pom-poms and eyes and save the jar. 

If you leave the bunnies out you might come to find that the jelly beans will start to disappear so be sure to stash them away until it's time to give them away.

I did one with eyes and one without so you could see how they both look. Myself, I think I like without.


3.10.2014

Creating a Pellet Pillow

Have you seen the Yogibo? It is a great bean bag for the family room, bed room or reading nook. Lady A loves them and while our niece and nephew were out visiting us they got to play on some at our local library and Children's Museum. All the kids loved them and had a blast having Paul throw them into a pile of Yogibo bags.

It feels like we are bursting at the seems of our little apartment so there is no place for the giant bean bag but I still wanted to get Lady A one. I compromised a little bit and ended up buying a box of refill pellets. Do you see the size of that box? It's huge! So I'll be using the refill pellets for a couple of projects.


Here is the super simple project and one my daughter loves.

I took two pillowcases: one has Pooh Bear and a simple white one.

I measured out the two and made sure that the simple one was about 1/4"-1/2" smaller width than the Pooh Bear pillow case and that the length was a few inches shorter so that it would sit in the pillow case like a normal pillow.

Because I can be a bit of an A-type personality, I trimmed my white case so that it was nice and square. Then I stitched up all the sides leaving an opening about 3" wide to allow me to fill the case.

Since the pellets can be a bit of a challenge I decided to use a funnel made out of newspaper so that they would not get super static-y and fly away.

My husband helped me with this part, 4 hands were much better than 2 for this project. To help keep the newspaper funnel and pellet case from sliding apart I used two clips that I had laying around, this made it so much easier to fill the case.


Once you have the cas as full as you would like it, fold in the edges and top stitch to close the opening. Place in the themed pillowcase and viola!! Lady A loves her pillow. We got her a nice soft pillow for her bed but she still prefers to use this one at bedtime. I love when the things I make for others are loved!

Paul has even made good use out of the pillow a time or two!


These boxes were sold by weight, when I called no one could tell me the space or volume of the box so I ordered the larger box to be on the safe side. Since then I was able to suggest to the company to include the volume along with the weight and sure enough it was added that week. They had great customer service over the phone and at the shop we went to.

The 7lb box of pellets were A LOT more than I was planning on but that is ok because I have some great ideas for them....stay tuned!!!

1.14.2014

Freezer Microwave Popcorn

Growing up we always made air-pop popcorn. When I moved out to go to college the convenience of the microwave bag was hard to beat. The over processed butter would get old....nothing beats just melted butter poured on freshly popped pop-corn with a sprinkle of salt.

I was so excited when my sister suggested that I make my own microwave popcorn. It is more like air-pop, but does not require that I take out the air-popper and it is the perfect size for one or two people.

Here is what you will need: paper lunch bags, tape, popcorn and this fun printable that you can download for free here.

It will take a little bit of trial and error to figure out the amount of kernels and time needed to pop per bag so that you will be left with the fewest amount of un-popped kernels and the stuff already popped does not start to burn.
  • 1/3 C kernels
  • Pour them in the bag {I place them in without opening the bag up since the bag will need to be flat}.
  • Now roll the bag where the fold are.
  • Fold the top over and tape shut. I like to place a label on them so that I am sure to use the oldest first when I go to pop a bag.


When it is time to pop, simply unroll the bag and use the tape piece to pinch the opening of the bag closed {this will keep the popcorn from falling out of the bag when it is popped}.

I hit the popcorn button on the microwave and add 30 seconds. The key to popping popcorn is listening for when the pops have approx. 3 seconds between them. This is a perfect time to pull the bag out, getting the most of the kernels popped and keeping it from burning.

8.07.2013

Wipes Case Cover

I needed to add a bit of style to my diaper bag so I decided to start with the wipes case. It seems like I have been using grey in everything lately but it seems to go with everything. This combination of yellow and grey from my material is great, made even better because it was in the remnant bin at Joann's so it was super cheap.


 Wipes Case
Cotton material
Felt sheet
Ribbon
Glue gun
Scissors
Template that you can down load from here.


Print the template and cut out the pattern for the material. Use it to cut two pieces of fabric.
Now cut the pattern down to the size for the felt piece and cute two pieces from the felt.

*This is a rough template and designed to help give the basic size and design you'll need.

Hot glue the felt to the top and bottom of the wipes case, keeping it centered.
Tips: To help keep the felt centered I used tape on either end and hot glued sections at a time. I kept my hot glue thin so it wouldn't be bump. At the corners cut a little triangle out so that it will lay flat then glue down the sides.

Hot glue the cotton fabric in place, trim any edges that need it. The order I did glued down the fabric was: back, front, sides, corners. Then trim any excess around the edges.

Now use the hot glue to place the ribbon around the edges.

Now there is a bit of color to the diaper bag. Yea!! From here you can add any embellishments you would like. Lady A loves to tear things apart so I opted not to add any embellishments to this one.

LinkWithin

Related Posts with Thumbnails