11.04.2010

Cute Little Santa

Oh my goodness, I'm in love.

For the Holiday Season I decided that I wanted to try and make a Santa Hat. After looking on line I found a pattern that I thought would work. Boy was I wrong. I don't know if I misunderstood the pattern or if it was the pattern it's self but it was a NO GO. So instead I decided to design my own. I LOVE it! My neighbor was wonderful enough to let me take some pictures or her little boy with the hat on. He was going to stay asleep no matter what so we took some pictures anyways.


Look at how cute he is. I must say, I really like the Santa Hat too!

11.02.2010

HOPE Festival

This year at the HOPE Festival I took a number of custom orders. My big hit this year were the Down Town Head Wraps. Here are a couple of the custom orders. I also had a lady order a beanie for here grand-daughter. I love how they all turned out. Let me know what you think.

These fun wraps are what I'm making for Christmas gifts this year.
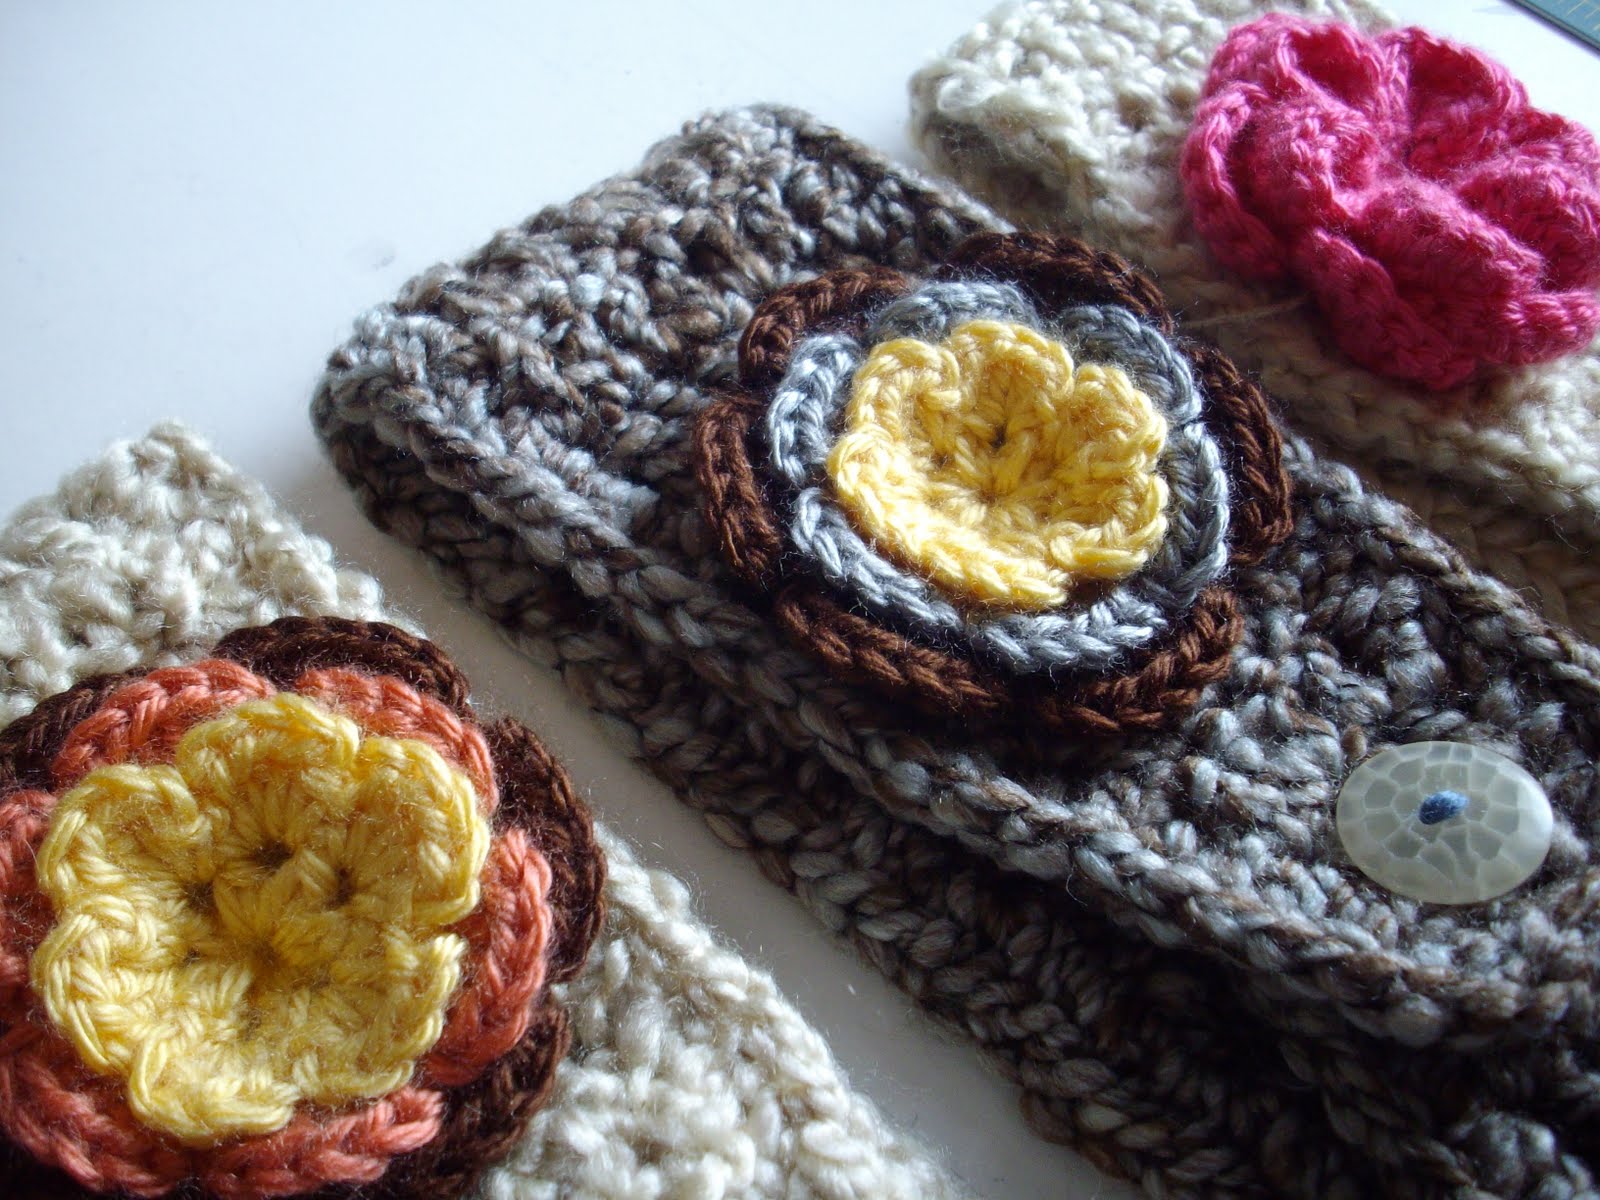
They'll go perfect with the scarves from last year.


This is a fun new beanie a just started making and they were a great hit as well.

10.14.2010

Personal Notepad

I created some simple order forms to take with me when I go to the HOPE Festival on Oct. 27th. To help keep everything together I wanted to put it all together in a notepad but I didn't want to pay for something so simple that I was sure I could do myself. So here it is - so simple and would be a fun craft to do with your kids {my niece and nephew}.

You'll need: paper, stamp and ink set, cutter of some sort, glue and some REALLY heavy books.


First you will need to create you design. I used a computer program since I was making order forms but this would be great to use stamps. Just get your favorite set and some varying ink pads. I printed mine first and added a guideline to the first page to help me cute in the right spot. If you are using stamps it might be easier to cut your paper to the desired size for the notepad.


After you have you notepad papers cut with their designs on them you are going to line them up. Make sure the edges that you want the glue to be on {in my case the top} is lined up as straight and flat as possible. Then you'll take your heavy books and place as close to the edge to be glued. This helps keep the notepad tight and keeps the glue from seeping into the separate sheets.
*Note with my books the binding edges didn't really lay flat on my papers so I turned them so the straight edge of the cover was right up to the edge.


Next, use the sponge to add the glue to the top of the flattened notepad papers. You can use your fingers or whatever else you might have around, this was just the easiest for me. After adding the first coat let it dry and add a second coat. My layers were pretty thick so I only needed 2 layers but add more if you think it's too thin.


Tada: your own personal notepad. If you are wanting more than one pad, stack up the paper in one pile. After the glue binding is completely dry, divide your notepad and just pull apart.


If you work on this tutorial I would love to see what you came up with!!

10.11.2010

10 Goals for 10.10.10

I put this post on our personal blog but because so many of the goals had to do with creating and crafting I decided to post it here as well.

Paul pointed out to me that it is 10.10.10. At the beginning of the year we were a bit slow to come up with goals for this year so to make up for that I am going to list ten {10} goals that I want to complete before the end of 2010. Lists always help me keep track of everything so here is my list.

~ Loose weight. I never really struggled with weight or trying to look like the Hollywood now girl but it is something I have caught myself thinking more of now, since I've been married {Paul loves big meals and I never wanted anything to go to waste, so I ate it and it all went to my waste}. I have a certain goal in mind but I have never tried to loose weight so I don't know how my body will react to it. For now I will leave this one at "loose some weight" and it could carry into next year.

~ Finish my projects. I'm sure I could go around the house counting all the projects that I need to finish {that number could be pretty high}. Instead I will list a few off the top of my head that I really do want to finish by the end of the year and before we move.

Window Treatments
Table Runner
Picture Collage
Homemade Christmas Gifts
~ Read the Book of Mormon. This is the Virtue Project for the YW's Personal Progress and it would just be a good one to do.
~ Clean the Fridge. This serves double duty because it needs to be done and I will have to do it since we will be moving shortly as well.
~ Continue Attending the Temple. We set a goal for our Temple attendance earlier this year and have been able to make it and I want to continue with that.
~ Sort through my closet. I'll leave this one until closer to the end. If I loose the weight I want to then I will get to keep a lot of these items. Wink, Wink!!
~ Finish my Personal Progress. I started it with my YW and want to finish it here with them even though I have been released.
~ DI and De-junk. We have a constant DI box so that we can put stuff in it as we go. I really need to do this with all the stuff we have in the spare room/office/craft space {one room...many purposes}.
~ Meal Planning. We have food storage items that I would rather use then toss out or have to pack and take with us when it is time to move. I want to plan our meals so that we can use up as much of it as possible. This will take some creative meal planning and patience to use it all.
~ Levi Quilt. I'm not including this with "finish projects" because I haven't actually started it. I made one for a great friend of mine as a wedding present and didn't want to give it away when I finished it. I loved the flannel on the back that made it so nice and soft and how wonderfully sturdy and heavy it was since it was made out of jeans. Fantastic to curl up in. I have always wanted one for myself and it is time to get busy and make mine.

On Saturday my SIL and brother and their little girl came up so that she could take some family photos for us. She was wonderful enough to come up on such short notice. It was a lot of fun and she did a wonderful job.
Here is a sneak peak at the photos.Bentley LOVES Paul and Paul loves him right back!

9.27.2010

Scarves ~ Four Fun New Styles

Game Day Scarf

With my husband in his last semester I have an overwhelming desire to attend a game before we leave. To attend the game I’ll need some game day attire. Well, here is a fun, flirty and warm scarf.

With this purchase you will receive a Game Day Scarf {approx. 100 inches} you choose the colors. Leave a note to seller at time of purchase and let me know what color you would like for your Game Day Scarf.

Alais Scarf

I have an afghan blanket made with this weave stitch and have been trying to figure it out for some time. Well I finally figured it out and thought it would be fun to make a scarf. It's a simple stitch but adds just enough character that this scarf can be worn with any outfit.
With this purchase you will receive a Alais Scarf {approx. 70" x 4 3/4"} in grey heather/sunshine or you can choose the colors. Leave a note to seller at time of purchase and let me know what color you would like for your Alais Scarf.

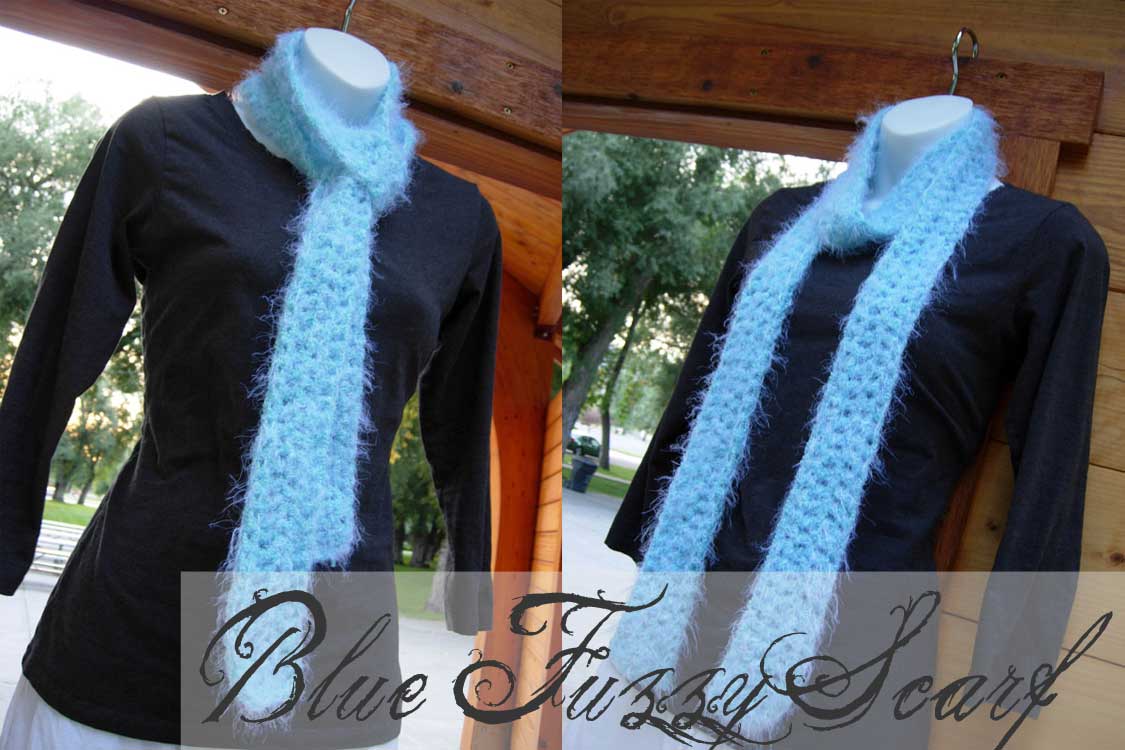
Blue Fuzzy Scarf

Oh so soft!! This yarn is so soft, it almost feels like it will just puddle in your hand, I love the feel of it up against my cheek. Long and slim this is the perfect accent piece and will make you feel oh so cozy as soon as you put it on.

With this purchase you will receive The Blue Fuzzy Scarf {approx. 74" x 2 1/2"} in soft blue.

Square Cluster Scarf

This is a fun cluster pattern that adds volume and character to the scarf. Oh so soft and warm and this is a great scarf for those colder days.

With this purchase you will receive a Square Cluster Scarf {approx. 82" x 3"} in regal earth. This yarn comes in a number of colors, if you are looking for a specific color send me an e-mail or leave me a note. I'll let you know if I have the color available to me and would be happy to do a custom order for you.

9.02.2010

Neapolitan Floral Wedding Invitation


I designed my own wedding invitations and this one is a take off of it. The colors definitely remind me of Neapolitan ice cream. With the soft colors the design is simple and elegant while still remaining sophisticated. The font color for the names is taken from the photo to keep a consistent color scheme.

With the purchase of this listing, you will receive the high quality 300 dpi digital jpeg file that you can print yourself.

The announcement measures 5x7 inches but can be formatted to a 4x6 size. If larger prints are desired please convo me to set up a custom order.

~CUSTOMIZATION
On this design, the following customization options are available:
-font
-font color
-wording
-theme colors

~PROCESS
-Upon purchase, please email your information to alwaysbecreating.designs [!at] gmail.com or in the notes to seller
-Within 24-48 hours, I will send you a proof for your review.
-Upon completion of the design process, and your approval- I will email you the final file.

~PACKAGES
Invitation packages are also available!! Check them out.
http://www.etsy.com/shop_policy.php?user_id=10920771

~Optional Printing
Send me a convo to inquire about printing and cost.

If you like my style, but don't see what you are looking for contact me! I love custom orders!

LinkWithin

Related Posts with Thumbnails