3.14.2014

My Birthday Wish + Giveaway

This week is my birthday week {we say week because with a toddler, being 34 weeks pregnant and my husband finishing up his Graduate degree we never know when we will actually have time together ;) }. Paul has been asking me for weeks what I would want and honestly, the things I want can not be purchased....I want more sleep, I want to not be sore any more, I want my body back. These are all things that will come but there is no rushing them, then it hit me. This has been a long and cold winter, today did not even get out of the teens, it was snowing and the sun was only out for about 10 minutes. My birthday wish is that Spring would come....tomorrow.

Since it doesn't look like that wish will be coming true this week, according to the weather channel, I thought it would be fun to do a Birthday Spring Giveaway on a whim. Just enter using the rafflecopter at the end of this post.


I love this pillow case cover, it puts a smile on my face every time I see it. LilyPillow is donating a 16" x 16" pillow case for our giveaway.

Visit her shop and check out all her other fun colors and fabric choices to help bring a bit of spring inside.

There is also a $25 Target Gift Card. Use it for yourself or to add more spring around your home.

Good luck everyone and here is hoping it is warm where you are!!

3.13.2014

My first time to guest-host a link party

We are happy to have a giveaway from Wren & Rumor as party of this week's link party! Be sure to enter after you link up your lovely posts! xo

Welcome to Link'n Blogs {#16} !
A place to link up your projects and make new friends. We are all about visiting links and following new bloggers here at Link'n Blogs. Remember to leave comments and PIN PIN PIN!
Cause sharing is caring. 

**Your links will show up on ALL blogs hosting the link party!**

Interested in guest hosting Link'n Blogs?!
I've created a spreadsheet where you can sign up to host a link party! It's a great way to get to know other bloggers, share a recent post with other party goers and pick the features. Sign up using the link below!

Grab my party button! 


I am sharing my St. Patrick's Day cupcake toppers. Use chocolate this year instead of paper! A free printable for the stencil is also included in the post!


St. Patrick's Day Chocolate Cupcake Toppers


HOST:
Katelyn from Learning, Creating, Living 


Katelyn is sharing an awesome DIY picture frame. I love the message to Enjoy Today!

Be sure to give some love to our guest hosts - you will love their creative blogs!


These the college girls are all about living a fabulous life on a budget. They are sharing a cute DIY pillow for Easter!


Are you a quilter or wanting to learn? Mindy shares a binding technique that you definitely need to PIN for future reference.


Here are this week's features:

3.10.2014

Creating a Pellet Pillow

Have you seen the Yogibo? It is a great bean bag for the family room, bed room or reading nook. Lady A loves them and while our niece and nephew were out visiting us they got to play on some at our local library and Children's Museum. All the kids loved them and had a blast having Paul throw them into a pile of Yogibo bags.

It feels like we are bursting at the seems of our little apartment so there is no place for the giant bean bag but I still wanted to get Lady A one. I compromised a little bit and ended up buying a box of refill pellets. Do you see the size of that box? It's huge! So I'll be using the refill pellets for a couple of projects.


Here is the super simple project and one my daughter loves.

I took two pillowcases: one has Pooh Bear and a simple white one.

I measured out the two and made sure that the simple one was about 1/4"-1/2" smaller width than the Pooh Bear pillow case and that the length was a few inches shorter so that it would sit in the pillow case like a normal pillow.

Because I can be a bit of an A-type personality, I trimmed my white case so that it was nice and square. Then I stitched up all the sides leaving an opening about 3" wide to allow me to fill the case.

Since the pellets can be a bit of a challenge I decided to use a funnel made out of newspaper so that they would not get super static-y and fly away.

My husband helped me with this part, 4 hands were much better than 2 for this project. To help keep the newspaper funnel and pellet case from sliding apart I used two clips that I had laying around, this made it so much easier to fill the case.


Once you have the cas as full as you would like it, fold in the edges and top stitch to close the opening. Place in the themed pillowcase and viola!! Lady A loves her pillow. We got her a nice soft pillow for her bed but she still prefers to use this one at bedtime. I love when the things I make for others are loved!

Paul has even made good use out of the pillow a time or two!


These boxes were sold by weight, when I called no one could tell me the space or volume of the box so I ordered the larger box to be on the safe side. Since then I was able to suggest to the company to include the volume along with the weight and sure enough it was added that week. They had great customer service over the phone and at the shop we went to.

The 7lb box of pellets were A LOT more than I was planning on but that is ok because I have some great ideas for them....stay tuned!!!

3.06.2014

Quilt Binding

I always used to dread binding. My mom ~ well I do not think she loves binding but she LOVES the trick she learned to make binding that looks fantastic. Today I am sharing with you the steps and tricks I use to bind quilts, table runners and other projects. I use it all the time. Hopefully this picture tutorial will be just as useful to you as the one my mom gave me.

The notes in blue are a different way of doing the binding so that you can machine stitch the whole project instead of doing the hand blind stitch at the end.

Follow these steps to bind your quilt.

Step 1: Trim the excess batting and backing even with the quilt top.

Step 2: Fold your material for the bias binding. Cut the width you would like your strips along the folded side. I like to cut mine 2 1/4". If you have a puffy quilt you will want to cut it wider. Cut the point off of the ends of the strips so it is a rectangle.


Step 3: Sew your ends together to make one long strip. Place the strips right sides together at right angles and pin. Draw a line from the upper left-hand corner to the lower right-hand corner. Stitch on the line. Trim to a 1/4". Press the seams open. Press the long binding strip in half lengthwise, with the wrong side together {I usually skip ironing the strip in half lengthwise}.


Step 4: Place the raw edges of the binding strip next to the raw edge of the quilt leaving a 4"-5" tail {I suggest 7"-8" if there is room and for larger projects, it will be easier to finish}. Start in the middle of the bottom of the quilt on the front {I like to start on the back side, this way when I do my version of step 7, I am able to watch the front binding as I sew it to make sure it is nice and straight}. Pin in place with the tail hanging out. Sew along the edge with a 1/4" seam.


Step 5 {Corners}: As you come to the corner stop stitching 1/4" from the raw edge. Remove the quilt from your sewing machine. Fold your binding strip up at a 45 degree angle. Fold the strip back down so there is a fold at the upper edge. Begin sewing at the top edge of the quilt, continuing to the next corner. Go around all four corner. Once you get familiar with this step you can also lift the presser foot without fully removing the quilt to do the corners. {Once you get familiar with this step you can also lift the presser foot without fully removing the quilt to do the corners. It might be the fact that at this point I am ready to be done or that I found it faster for me to do this way, but I choose to keep it all right there on my machine}.


Step 6: After turning the last corner, stitch until you have about 7" to 8" open from the beginning and stop stitching {I find it easier, especially on bigger projects, to leave about 11"-12" of open space}. Make sure that your ends overlap. You will overlap the binding 1/4" smaller than the width of your binding. {If you did a 2 1/4" binding you will want it to overlap 2"}. Cut the binding strip straight across. Lay the quilt flat with whatever side has the binding sewn on it up. Place the unfolded, unstitched tails right side together at right angles and pin. Draw a line from the upper left-hand corner to the lower right-hand corner of the binding. Stitch along this line. Lay flat to check to make sure that it fits correctly. Carefully trim the seam allowance to 1/4" and finger press the seam open. Refold the binding in half. Pin binding to quilt. Finish stitching the binding to the quilt.


Step 7: Turn the binding to the back {or front in my case} of the quilt and blind stitch the folded edge in place, covering the machine stitches with the folded edge. Make sure you take a small blind stitch. {I like to finish the quilt by folding the binding to the front and then finishing with a serpentine stitch on top of the binding.}


Step 8: ENJOY!!!

Here are some blankets I made a while ago using this binding technique. I love how they turned out and the serpentine stitch gives it a great finishing touch.


This is a pretty intense tutorial and I tried to add as many photos as I thought would be helpful to fully explain the steps. If you have any questions leave me a comment and I will be sure to get back to you. I have my copy printed out and put in my binder with all the patterns so it is always available whenever I need it. If you would like a PDF version to print, you can find it here to download.

Linked up here:
Whimsy Wednesday @ SimplyDesigning.net
Link Party Palooza @  I Heart Nap Time
Tip Me Tuesday @ TipJunkie.com
Made by You Mondays @ SkipToMyLou.org
Link Party @ Remodelaholic.com
Inspire Me Wednesday @ 733blog.com
The Party Bunch @ ThirtyHandMadeDays.com
Show Me What Ya Got @ NotJustAHouseWife.net

3.03.2014

49Fifty Project Recap for February

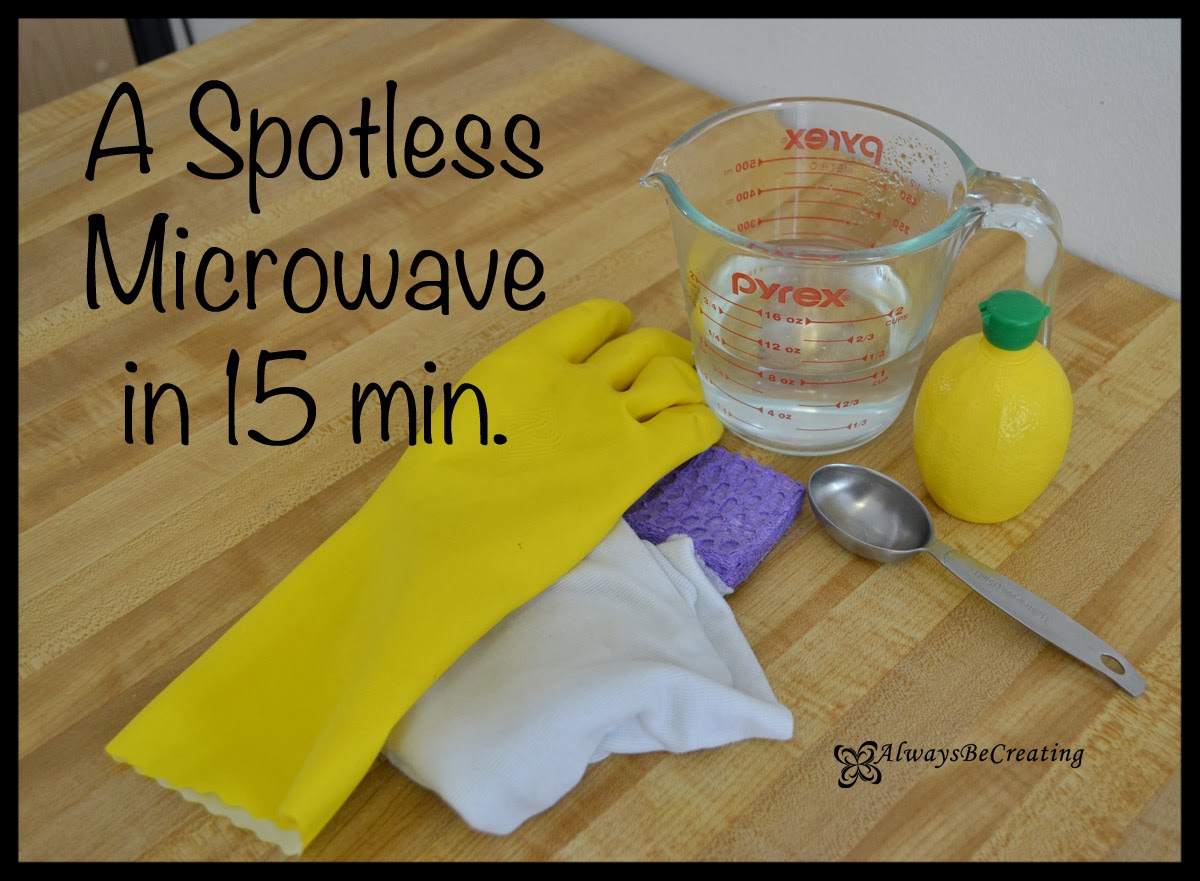
Here is a recap of the cards from this month and cleaning tips that I have to share with you.

Week six

http://49fifty.weebly.com/1/archives/02-2014/1.html

Week seven

http://49fifty.weebly.com/1/post/2014/02/thanks-coach.htmlhttp://49fifty.weebly.com/1/post/2014/02/a-spotless-microwave-in-15-minutes.html 
Week eight
http://49fifty.weebly.com/1/post/2014/02/box-tops-for-educationfor-our-niece-and-nephew.htmlhttp://49fifty.weebly.com/1/post/2014/02/how-to-clean-the-sticky-off-a-jar.html


Week nine

http://49fifty.weebly.com/1/post/2014/02/grandpas-work-shed.htmlhttp://49fifty.weebly.com/1/post/2014/02/cleaning-the-gunk-off-of-a-glass-baking-dish.html


2.21.2014

Our New Valentine Tradition

Paul is in the theatre department as a grad student and has a show that opens up next week, which means for the next two weeks we will hardly see him. So Valentine dinner was moved to the following week at lunch time and we decorated cookies instead of making a big fancy meal.Now that we have finally had our Valentine lunch I can share it with you all.

"I Love You Because..." I love this saying for so many reasons. It causes people to think about why they love someone, suddenly the word 'Love' can not be thrown around but causes you to think about what you 'Love' about the other person.....and it is always nice to hear what it is about you that your partner loves.

Here is our little lunch time Valentine bar.
The wall of mismatch picture frames with photos from while we were dating, anniversary trips, family, holidays and other meaningful events {we share this wall with our neighbors and their staircase is on this wall, the picture frames are constantly crooked, it drives me crazy.} My new sign along with our garland to hang our hearts on. And of course, a bunch of sweet treats. Paul wanted chocolate covered strawberries but it seems everywhere stops selling them the day after Valentines, so I got him his next favorite, raspberry fill donuts.


For our new Valentine tradition I made the burlap sign and cut out some hearts. While Lady A played in the sprinkles and we decorated cookies, trying to keep her out of the frosting, we also wrote on the hearts what it is about the other, or our little girl, that we love. Then I bound them together for a little keepsake that will become part of our Valentine Decor over the coming years. When Lady A and Lady #2 are old enough they will join in the fun too and can look back at what mom and dad wrote about why we love them so much.

The tutorial for the burlap sign can be found here.


Check out some of my other simple Valentine crafts:
Love is the tie ..... chalk board printable

I Love You Because....Burlap Panel Tutorial

Have you seen these fun new Burlap Panels from Michaels? As soon as I walked past them I was in love and wanted to try them out right away. This package had three 8" x 10" flat panels and with a 40% off coupon, super reasonable in price.

This is the year of starting new traditions and this panel will go along perfectly with a new tradition I want to start. More on that later.....first lets talk about how I created this project.


Design your sign in Silhouette Studio {unfortunately I do not have the designer edition so I can not create a .SVG file to share with you all. Instead I have a .Studio file you can download from here. If you use my file on another project I would love to see it so be sure to link back and give me credit for my design. This is the first time I am trying to share a file so PLEASE let me know if it does not work.}

As you can see I did not center mine very well but this was a first time cutting on vinyl too! A lot of firsts in this post...YEA! Get you vinyl cut and gather you other items for your project.

I used:
Black and Red Liquitex Acrylic Color
Sponge Brushes
Burlap Panel
Silhouette Portrait


Weed out the vinyl sign after cutting it and place it on the burlap panel. As with a lot of firsts there is some trial and error. I was able to line the sides up but then used a clear ruler to help me center my saying from top to bottom.

Note: When lifting off the transfer paper from the vinyl take your time. The little pieces for the letter will lift with the transfer paper. Also be sure to take your finger or something else and trace all the edges of your cutout.


Put a bit of paint on the sponge brush and dab onto the burlap.

Note: The burlap has loose fibers so the vinyl won't always create a perfect 'seal' this is why dabbing instead of brushing is the way to go. If you brush the paint will push under the vinyl a bit and will not give you such a crisp line, but that might be what you are going for. Dabbing will also allow more paint to sink into the burlap so that your image will be more saturated.

If you find yourself in the same situation as me {the cutout is super close to one edge} you can use masking tape to extend the edge then you will not have to worry so much about your paint going over.


Pill the vinyl off once the paint is mostly dry. The reason to pull it up while it is still a bit tacky is so that when the vinyl is lifted the paint will separate easier and not come up with vinyl, making you design look choppy.


See how I used my burlap panel for our new Valentine tradition here.

LinkWithin

Related Posts with Thumbnails