Showing posts with label Kid Craft. Show all posts

12.19.2015

Silhouette Ornaments


Remember that tutorial I shared on how to create a silhouette using Adobe PhotoShop? Well, now we are going to create a project with it.


Be sure to look over my tutorial on how to use Photoshop to create a Silhouette. Don't forget that Amazon has a free 30 trial that comes with access to their Creative Cloud. I am over the moon excited about how these turned out!!!

Ok, that is enough. Now to show you how I did it.


: : : : : : : : Material/Supplies : : : : : : : : 
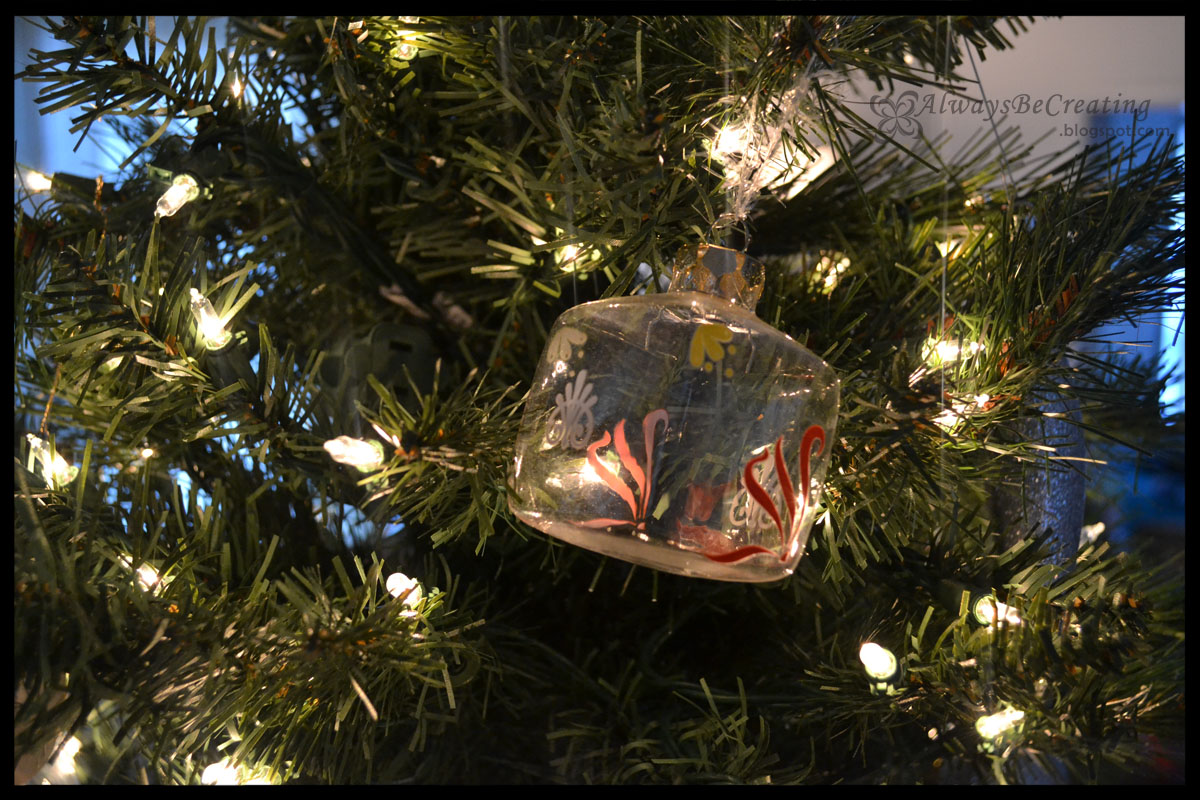
Glass/Plastic clear ornament bulbs {I used the flat ones, the image stays better in them}
Printed image

: : : : : : : : Tools : : : : : : : : 
X-acto Knife {or scissors}

: : : : : : : : How To : : : : : : : : 
Once you have your silhouette created, open up a blank page in PhotoShop, bring the image over onto the new page and scale to a size that will fit within the clear ornament, mine are 3" bulbs. Create duplicates if you need them.


Print out on normal printer paper. 


Cut out the silhouette image.

Here is how I did it:
Mark on the circle cutter for the size you want {3"}. Place on the silhouette image then spin the tray to make sure the image is centered in your 3" diameter.

NOTE: I only moved the cutting wheel once I had it marked to take a photo and show you how it looked. Normally I would not move it because lining it back up takes too much time.


Cut the circle around the silhouette leaving a small section at the top. Take the x-acto knife {or scissors} and cut a 'neck' on top.
TIP: This will help keep the paper from rolling around in the bulb and keep the image upright instead of sideways.


Roll the cut out around the handle of the x-acto knife {or pencil}.
NOTE: I kept the image facing out because once it is placed in a bulb it will keep a little bit of a curl.

Stick the handle of the x-acto knife {or pencil} in and help to unroll and flatten the paper.


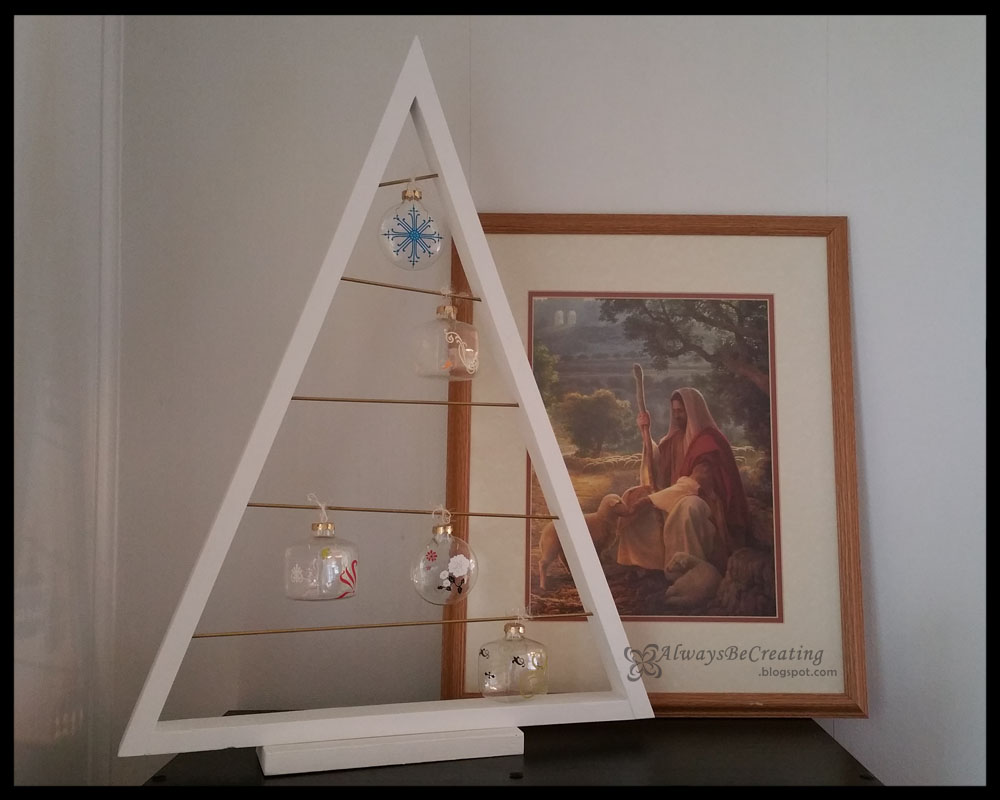
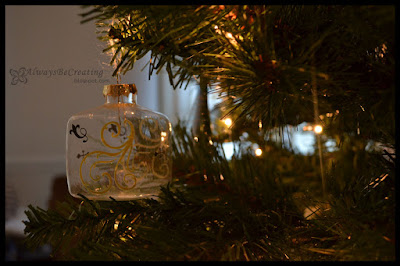
Use an ornament hook or ribbon to hang the bulbs.


Sometimes simple really is easy and best. I love how these look on the tree, will treasure them forever and we are so excited to send some to grandparents as well.

I would love to hear from you and see your projects. Leave a comment or #AlwaysCreate on your photos in Instagram. Find me on Instagram {@AlwaysCreate} and follow along for behind the scenes.

Other Handmade Ornaments


Fast and simple ornaments


Pony Bed Ornaments

12.14.2015

Pony Bead Ornaments


Have you ever tried melting pony beads?

Well, it is fun, easy, the kids can join in on it and it doesn't cost a lot.

I know that the girls will want to play with the tree and all the decorations once we set it up so I decided to get a head of them and made some ornaments that would be ok for them to play with.


: : : : : : : : : MATERIALS/SUPPLIES : : : : : : : : :
9 mm Pony beads {check here for a huge range of colors}

: : : : : : : : : TOOLS : : : : : : : : :
Muffin tin {any metal baking sheet will work, even metal cookie cutters on a a metal sheet}
TIP: My tin was an old one I had. A second hand store would also be a great place to find a muffin tin.

: : : : : : : : : INSTRUCTIONS : : : : : : : : :
Preheat the oven to 400 degrees.


Place a single layer or beads in the bottom of the tin.


Bake for 25 minutes @ 400F.

Place the tin outside to cool. This will help keep the smell outside instead of in your kitchen and house.

When the beads are cooled, simply turn the muffin tin upside down, press on the back-center of each space where the beads are. They will simply pop out.

TIP: Depending on your oven you may not need to bake it that long, or you may need longer. Basically you need to bake it long enough that the bumps from the beads as the melt will smooth out.

TIP: Be sure to do this when you can open the windows and vent the space. Those beads stink when they are melting.

TIP: I have also heard of others who have baked it on the grill, outside, so it doesn't stink up the house.


Drill the holes where you would like.
String some ribbon in and Viola!!!!


My daughters love these little ornaments and so do I. We had some friends over to make some with us a few weeks ago and they were all so pleased with their own personal ornaments.

Other handmade ornaments


Rub-Ons


Silhouette Ornaments

12.08.2015

10 Minute Christmas Ornaments ~ No Personal Electric Cutter Needed


When it was just the two of us doing our undergrad, we always went to visit and stay with family for winter break. We were never "home" for the holidays so I never decorated. If I had, we wouldn't be able to enjoy any of it and when we go home after winter vacation I would have to dust it all and pack it back up.


One year while teaching some of the kids at our church, we had a Christmas party and made ornaments. It was a lot of fun and the kids were so creative. Years later I had parents tell me that their kids still had their ornaments and looked forward to hanging them on the tree every year.


That really gave me a boost to hear that the kids loved them so much.

These are super simple. Do not require any special equipment, and the kids can help.

: : : : : : : : : MATERIALS/SUPPLIES : : : : : : : : :
Plain Christmas bulbs {clear or colored}
Rub on stickers

: : : : : : : : : INSTRUCTIONS : : : : : : : : :
It is just as simple as cutting out the designs you want from the rub-ons sheet

Place it on your ornament .

Then rub the decal onto the ornament.


I like using the rub ons because they can have sharp and intricate designs without the fuss of needing to cut anything out and they stick so well.


You could try adding glitter or paint to the inside of clear bulbs as well.

This project is a great one to help add your own personality to your tree. The kids will also enjoy helping out. Share your project with me in Instagram. Be sure to tag me in your post and add #AlwaysCreate.


Other Handmade Ornaments


Pony Bead Ornaments


Silhouette Ornaments

11.23.2015

Fan Pumpkin Garland


Here is a simple and cute garland that can be made in 30 minutes.


My daughters thought they looked great hanging across our walkway arch and I am excited to share them with you.


This is one craft that you can do with the kids, it will probably be easiest if you do the prep work first, then have the kiddos join you.


MATERIALS/SUPPLIES
Construction Paper {cardstock or patterned paper}
Pipe Cleaners {orange and green}

NOTE: I did green paper and pipe cleaners so I could try them both out and see which one I liked better for the stem.

TOOLS
Wire snips
Tiny hole punch {I used a Provo Craft Silent Setter that has 3 sizes of punches}
Paper cutter


INSTRUCTIONS
Cut the paper into strips. I did 6"x1/2" and 8"x3/4".

Roll the green paper around a pen or pencil. Find a way to secure it. This will add a spiral to the stem.

Cut the pipe cleaners. I cut a few different lengths so I could test them out and see which one I liked.

Punch a hole at either end of the orange strips and one end of the green srips.

TIP: To do larger pumpkins I would suggest using a thicker paper, like cardstock. The paper strips started to get saggy the longer the pumpkin was hanging on the garland.

TIP: If you have little kids who want to help, I would suggest getting all the prep and cutting done first, then have them join you. wink, wink.


Grab eight {8} small orange strips or 12 larger orange strips, line up the ends and feed either end of the pipe cleaner through the holes on either ends of the paper strips.

Put a little roll and fold in the bottom of the pipe cleaner {it will keep the paper strips from coming off}. Add the green spiral piece of paper of paper to the top then roll and fold the top of the pipe cleaner.


Now fan out the paper strips to create a full circle.


To hang them on the twine garland take the top of pipe cleaner that has been folded over and hook it onto the twine.


TaDa!!!! Done and Done.

Hang them as garland or us them on a shelf as a display.

Share your fan pumpkin with me on Instagram. Be sure to tag me in your post and add #FanPumpkin


I tried doing a pumpkin with double the amount of strips and I did not like it as much for this project. You can use the picture above to see what they looked like.

LinkWithin

Related Posts with Thumbnails