5.06.2014

Great Job Paul...Much Ado About Awesome Lighting

This is Paul's final semester to finish up Grad School at the University of Connecticut. It is a bit of a bitter sweet moment. We have been in school since we got married and have really enjoyed having long breaks for Christmas and being able to travel for the summers. At the same time we are so excited to be moving on to the next chapter. With Lady El here and after so many years of living on the bare minimum, moving around so often, we are really looking forward to setting down roots and moving on to the next big thing.


This post is going to be a bit different.....it's all about Paul and his designing talent. Last month his final show and thesis project opened, Shakespeare's 'Much Ado About Nothing.' Thought the whole process he talked about how much fun it was to work with Paul?????, the director. They also had a great crew of Grad students doing the designs for the show.


Director: Paul Mullins
Scenic: Joe Keener III
Lighting: Paul Yeates
Costumes: Tiffany Deligatti
Sound: Michael Fryer


During this past fall semester Paul taught an undergrad class about intro to lighting and sound. As we left the theatre after the opening performance a lot of his students were out in the hall. I over heard one of them tell Paul, "That was Much Ado About Awesome Lighting." I could not agree more. There were so many different moods, scenes at different times of day and even different weather settings. Paul pulled them all off wonderfully.


He asked Mark Stanley, the Lighting professor at Boston University and Lighting Designer for the New York City Ballet, to come and adjudicate his design {basically someone who comes to nit pick apart one aspect of the show, in this case, Paul's lighting}. He loved the show! While he had one or two suggestions to Paul about different things he only had great stuff to say about the show and Paul's design. It seems that the favorite part for everyone was the how he was able to pull off the cloud designs on the back drop.


A couple weekends ago at The Hemsley Review in NY Paul had the opportunity to meet Broadway designers and other big names in Lighting design. They were all interested in his designs and of course it did not hurt to have Mark, who coordinates this huge event, talking it up to everyone since he came and saw it.


These have been a few of my favorite shots from the show. To check out all the photos find them on Paul's website here.

5.05.2014

Canister Labels

The other day I went looking through my baking items and found one of my peppermint baking bars nibbled all up and down the sides. Breath. Do not freak out. Aahhhh!!

Naturally the next step is to re-organize the closet and put just about everything in a canister. 


I love creating designs in Silhouette Studio and this would be a great chance to see what I could come up with. As well, this would be my first time cutting vinyl. *So excited*

First thing is first: Deciding what will all go into canisters so I know how many labels to create and what size to make them.

Choose the colors: For Christmas we got a little bit of spending money from family and I told Paul it was time for a change in our kitchen decor and colors. The vinyl for the labels will match the new colors so well.

Items needed:
Canisters {purchased at Wal-Mart}
Vinyl in color{s} of choice
Clear Contact Paper
Small clear Omnigrid rulers
Cut file*

Tip: For something a little more worthy of the counter top check out this
I used the 2 1/2" x 2 1/2" square ruler from this Ruler Value Pack
 and the 1" x 6" ruler from this Basics Ruler Set

First wash the canisters. After they dry use rubbing alcohol to clean the surface where the vinyl will be placed. 

Design the labels or purchase a cutting file. Here is the label design* I came up with for my canisters. I love how they turned out and they were actually pretty easy to create. Give it a try, after seeing your first design come out you will be hooked.

Cut the design into the vinyl then weed out the parts that you will not be using. Since I am not a very avid cook I also have solid labels for the backs of the canisters and I will be putting the expiration dates on them to remind myself when it will be time to switch out the contents.. A dry erase marker can be used on the vinyl so this will work out perfect.


Tip: on some of my vinyl pieces that had a lot of negative space I cut a bunch of 3/8" circles so that Lady A could use them as stickers. We ended up using the green dots on a simple white bedroom clock. After we used the dots on our clock project I weeded out the rest so they would not get in the way of transferring the labels.


Tip: on smaller vinyl images and ones that are not to intricate I use normal clear contact paper that comes in a huge roll. While it is not as 'sticky' or as thick as transfer paper, it works great on these smaller projects and costs a lot less.

Bring the vinyl up with the clear contact paper. Then center on the clear ruler to the height that you want the label and let your clear contact paper stick to the ruler. Line up the ruler to the center of the canister and simply press the top of the label onto the canister, making sure to start from the center and smooth out the label so no air bubbles get trapped. Remove the ruler and press the rest of the label down, then remove the clear contact paper


It gets just a little bit trickier when placing the labels with words. If the lettering lays over the clear ruler at all they will want to stick to the ruler. Expose the bottom of the label so that it can still be lined up on the ruler. Leave the vinyl baking where the lettering is. Follow the same process as above for centering and placing the labels but be sure to remove the vinyl baking when the ruler is removed.

Finish pressing/laying the vinyl into place and remover the clear contact paper.


TaDa!! Nice wonderful canisters labeled and ready to go in the closet.
The colors turned out great as well and will match the rest of the kitchen. 
*Eeek*


If you have a Silhouette machine but are maybe a bit intimidated by it like I was {this is my first electronic cutter of any kind} I would suggest watching the introduction DVD that comes along with it. Seriously, it helped me so much, with just enough instruction on how to use it and a lot of the different features ~ now there has been no stopping me.

*Download files are not to be sold, redistributed, or altered without permission. Items using this cut pattern are not to be sold. Please send your friends and family to my blog if they want a copy as well. Thanks! I am excited to see what everyone come up with.

4.19.2014

Bunny Ear Cupcake Toppers

After a Dr. visit the other day it is clear that this baby is not coming soon and we will probably have to wait another week or longer. NOT the news I wanted to get!

So I need something to get my mind off of the pain my body is in. There is a community Easter Egg Hunt this weekend and they are wanting some goodies to hand out. I am making cupcakes and going to use the same Bunny Ears printable from my Some Bunny Loves You ~ Easter Thank Yous as a template for cupcake toppers.

Update: I created another printable so you can do ears that over lap or are separate.

What you need:
Candy Melts
Squeeze Bottles
Printable {ears together or ears apart}
Shortening / Coconut Oil {optional}
Wax Paper
Tape
Cupcakes, frosted and ready to decorate


I have tried to melt these before with little success, they usually would dry out and seem to burn instead, both in the microwave or using a double boiler system. After some thought and searching around on the Internet I decided the Candy Melts needed a little something to help keep them creamy and soft as they were microwaved, hence, the shortening or coconut oil.

Tape down the printable of the ears and tape wax paper over it {wax side up}. If you are doing more than one sheet of ears I would suggest printing out as many copies as you need, it makes it easier than having to stop and move everything to place another sheet of wax paper. You are also working against the clock and don't want the candy melts to start to solidify in the squeeze bottle.

I used about half the bag of candy melts and made four dozen ears {barely}.

Place the candy melts in a microwave safe bowl. Microwave for a minute {the instructions on the bag suggest using 50% power, I used my normal power setting}. After the first minute add between 1/4-1/2 TBS of shortening and stir in with the candy melts. Microwave 30 seconds at a time and be sure to stir in between every 30 second burst. Spoon the liquid candy melts in to the squeeze bottle and go to town.

Tip: Do one color at a time so the candy melts do not solidify while you switch between colors.
I only had butter flavored shortening so I used coconut oil instead to mix with the white candy melts {I wanted the white to stay as white as possible} and it worked just as well.


Take the pink and trace the inside of the bunny ears. By the time you get the white candy melts ready the pink will be set up enough so you can start tracing the outside of the ears.

Note: This is my first time doing free hand cupcake toppers and my first time getting the candy melts to melt successfully. Win ~ Win!! You can tell I am not a professional but I am pretty pleased with how they turned out.

Tip: Make sure the second color over laps the first just enough to make good contact. This way when you lift them off the wax paper they won't fall apart.
If doing a silhouette {ie, the white part and leaving the inside empty} I would suggest making sure to use a nice thick line {nothing to extreme}, enough so that the ears do not snap in half when you remove them from the wax paper.


Now set up the station and get busy.
Eyes: Chocolate Chips
Ears: You just made them you connoisseur of confections
Mouth {whiskers}: Coconut Shavings
& Nose: Pink Sixlets
The Reece's Pieces Eggs are for me to snake on while busy at work!


And there you have it! You are now a professional at getting Candy Melts to melt perfectly every time and you have some fun Bunny Cupcakes to share with family and friends.

Um...I finished these pretty late last night, all I had was my kitchen lighting so these last photos are a bit yellow. Please don't hold that against me. Trying to put these together during the day with a curious and busy toddler would have been nuts.


Here is an idea of how many we made. After all the taste testing and little fingers grabbing the bunny ears, we ended up donating 40 to the community Easter Egg Hunt this morning. Can you see on some of the ears I had enough white left over to place a line down the center and help to separate the ears into two? There was not enough white to do all of them but either way works for me.


I saved three for us and so I could get some better photos of them in the day light. Not going to lie, I am pretty pleased with how they turned out. It also helps when others complement you on your work.


Can you tell I am loving my spring and Easter decor too. Some friends brought me the flowers yesterday and I still love my plate, so they made it in the photo shoot.

4.18.2014

Sharpie Marker Easter Plate

Do you remember me sharing on Instagram that I keep some designs that would normally be weeded out on transfer paper until I can use them in another project? Well, that is what I did with this bunny.


It is time to try the hot trend of a Sharpie Marker on a dollar store dish...again. I have tried this over and over again and all those claims of the dishes being dishwasher safe and the marker is permanent ~ well, that has never been the case for me. Just using dish soap and water has always taken the Sharpie marker off. Here goes another attempt.

I used the bunny silhouette saved from my Peter Cottontail burlap decor piece to create this plate. Originally I was going to use a couple different colors but ultimately decided to go with straight black on white. Remember, the dollar store dishes {or cheaper dishes from Wal-Mart and other stores} will work best because the glaze on them is thinner and will help in the baking process.


Use rubbing alcohol and a cotton ball, wipe down the dish to clean and remove any dust or oils.

Because this image used a pom-pom for the tail I had to improvise and find something to create a tail. Lady A loves stickers and we have a few of these sticker packets on hand for her. So I used one that  looked like it was the right size...and am pretty pleased with myself for my quick improvisation.

Now take the Sharpie marker and start dotting around the image.


Bake the dish in the oven by placing it on a cookie tray. With your dish in the oven set it to 425 degrees, once the temperature is reached bake it for 30 minutes. Let the oven cool and prop the oven door open with the dish still in it. 

Letting the dish warm up and cool down with the oven will help to keep the shock of the temperature changes from cracking the dishes. One of the perks is that the paper stickers on the bottom of the dishes were baked off so I didn't have to put any effort into removing them.


I love how this turned out! It will be fun to bring it out year after year and remind us of this time in our lives, as we wait for Lady #2 to join our family, as our lives change with Paul graduating and we get ready to move. We have a lot going on this Spring.


***MY IMAGE STAYED AFTER WASHING***

I attribute it mostly to the higher baking temperature, every tutorial I read said to bake at 350. It should also be noted by washing I mean with warm water, a washcloth and soap and no scrubbing ~ just lightly going over the surface to wash it off.

Tips from this project:
  • Rubbing alcohol will help the marker make better contact to the dish.
  • I called Sharpie and they do not recommend using dishes with this Sharpie technique for food or drink. The markers are not food safe according to the USDA.
  • An acrylic spray can be used to cover the dish and will help keep the images from fading or washing away {remember not to use the dish for food with an acrylic coating}.
Check out my Peter Cottontail  post for the Silhouette Studio file where you can find this bunny.

4.17.2014

Peter Cottontail Framed Easter Decor

I loved using the burlap panels from Micheal's Craft Store when I created my Valentine sign I used them again to create some Easter Decor.

First I designed my vinyl cutout in Adobe Illustrator {I am more familiar with that program and feel like I can do more using it, including creating this cute bunny silhouette} then transferred it over to Silhouette Studio so I could cut the vinyl using my Portrait.

Here is what you will need to create this burlap sign:
Burlap panel
Paint in your choice of color {one or more}
Sponge brushes
Vinyl to cut & Transfer paper
Silhouette cutting machine
Silhouette Studio File {a .Studio3 file}
Frame
Hot Glue


First weed out the image from the vinyl after it has been cut. Then use transfer paper to set the vinyl onto your burlap panel. 

I tested a couple of colors on the back of the burlap to see which I liked best and decided to go with the blue for text and white for everything else.


The white paint is Liquitex and I love it because it is a thicker paint so not as many coats are needed. but it is more expensive so I only have it in a few colors. The pastel blue is Craft Smart, a normal satin acrylic paint. I ended up doing two coats of white because when the first coat dried too much of the burlap brown color was coming through. The blue I did 3-4 coats because it was being absorbed into the burlap more so I needed to try and make it thicker.

After the paint has time to fully dry remove the vinyl and be sure to add a pom-pom to Peter Cottontail.


Originally I was planning on spray painting the frame white but it has been raining non stop and since I have a toddler at home and am 39 weeks pregnant, spraying in the bathroom and just turning on the fan was not an option :)


I love the blue color but with the vinyl removed it does not stand out as much as I was hoping. I'll see how I like if over the next few days and if I need to, figure out some way to change it just a bit. 

Here are some of my tips and tricks for painting on burlap using a vinyl stencil:
  • The font used in this project is Harrington, it is one that was already on the computer.
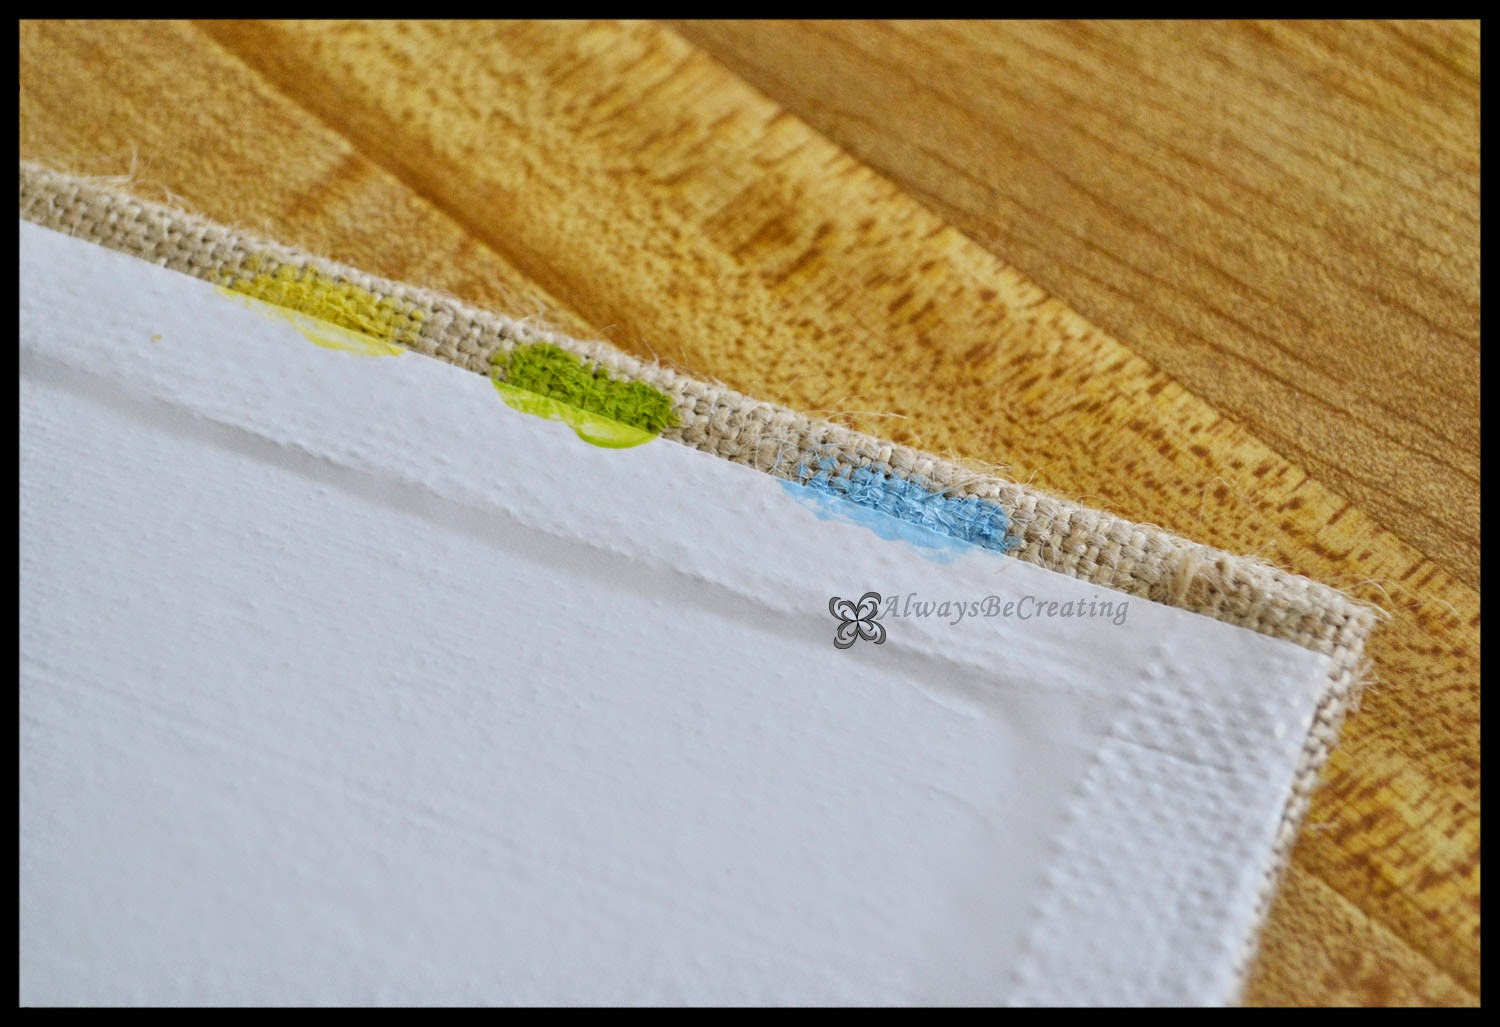
  • When using transfer paper do not worry about sticking the vinyl image to firmly to the transfer paper. Since the burlap surface is not the best surface for sticking vinyl to, it will come up with the transfer paper instead of staying on the burlap.
  • Go over the edges of the vinyl with your finger. This will help create a bond to keep the paint from seeping under the vinyl.
  • Dab, do not brush. This helps keep the paint from going under the vinyl, keeps the woven texture of the burlap and gets paint into all the crevasses.
Other projects using burlap:
I Love You Because...

4.15.2014

Some Bunny Loves You ~ Easter Thank Yous

It has been some time since I last posted. While I have still been working on projects it is blogging about them and sharing with all of you that has suffered. I am telling you, this little girl needs to get here quick, these last few weeks have not been enjoyable at all....and I would really like to get back to sleeping in my bed instead of the recliner.

That is enough about that ~ onto the fun Easter Projects I have been working on.

This one is a little 'Thank  You' for Lady A's nursery teachers. They have been so great! She loves showing us her pictures and getting us to sing the songs she has learned, I think it is because she mostly likes the hand actions that go along with them. Her teachers were also very patient with her as we went through potty training. I would not say she was difficult but she did have one or two accidents and it was hard to get her to sit up on those monster sized toilets at the church.

These were super cheap to make and even if you made more of them, say for the moms in a reading group, they would still be very reasonable.

Supplies:
Glass Jars $1 at Target
Two PDF downloads from here
Hot glue
Buttons from my stash {optional}
Pom-Pom {two sizes} from my stash
Jelly Beans {$2}
Twine/ribbon


I found the easiest way to clean the labels of of these jars is to let them soak in hot water. Give it about ten minutes then the label will just rub right off. Make sure they have time to dry before placing the candy inside and assembling the bunnies.

Cut out the ears and tag {I used an EKSuccess punch to give a little style to the tag}. If you have a scrap piece of white felt on hand you could also use the print out as a pattern and cut the ears out of the felt to make them soft and fuzzy. I tried having Lady A color some pink inside the ears but that turned in to a disaster so we just went with white.

Hot glue the small pom-pom to the front neck of the jar for the nose and the large on to the bottom back for the tail. Hot glue the eyes above the nose on the neck of the jar {optional}.

If you do paper ears, fill the jar with treats first, then hold the base of the ears down into the jar a bit and place the cork. This will keep the ears in place and won't require any gluing. 


Now take some ribbon or twine and tie the 'Some Bunny Loves You' tag around the jar. 

TaDa!!! Cute and simple. 


I like to reuse cute little jars like this and so that is why I choose to use hot glue. If the ladies wanted to they could easily remove the pom-poms and eyes and save the jar. 

If you leave the bunnies out you might come to find that the jelly beans will start to disappear so be sure to stash them away until it's time to give them away.

I did one with eyes and one without so you could see how they both look. Myself, I think I like without.


4.02.2014

49Fifty Project Recap for March


Here is a recap of the cards from March and cleaning tips that I have to share with you.

Week Ten

http://49fifty.weebly.com/1/post/2014/03/new-beginnings-invitations.htmlhttp://49fifty.weebly.com/1/post/2014/03/cleaning-the-burnt-gunk-off-a-stainless-steel-pan.html


Week Eleven

http://49fifty.weebly.com/1/post/2014/03/baby-shower-cards-boys.htmlhttp://49fifty.weebly.com/1/post/2014/03/how-to-clean-stuffed-toys-with-electronics-inside.html


Week Twelve

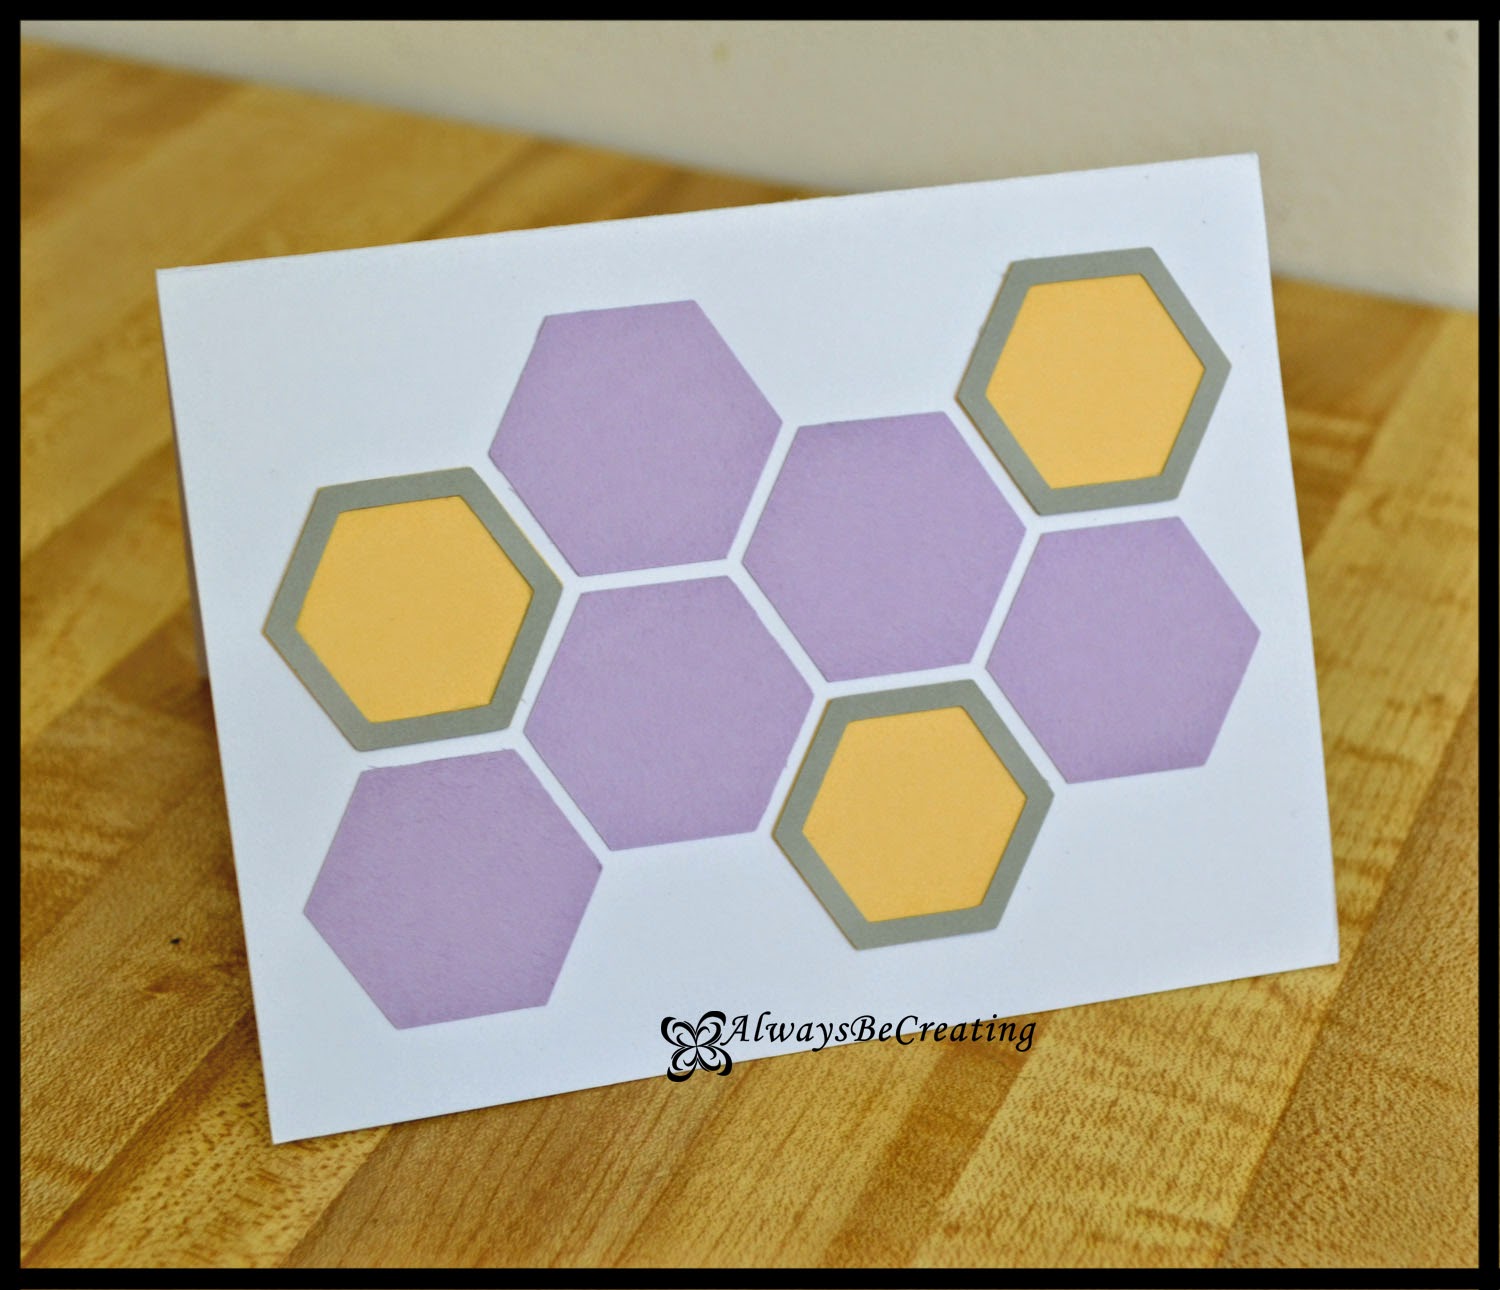
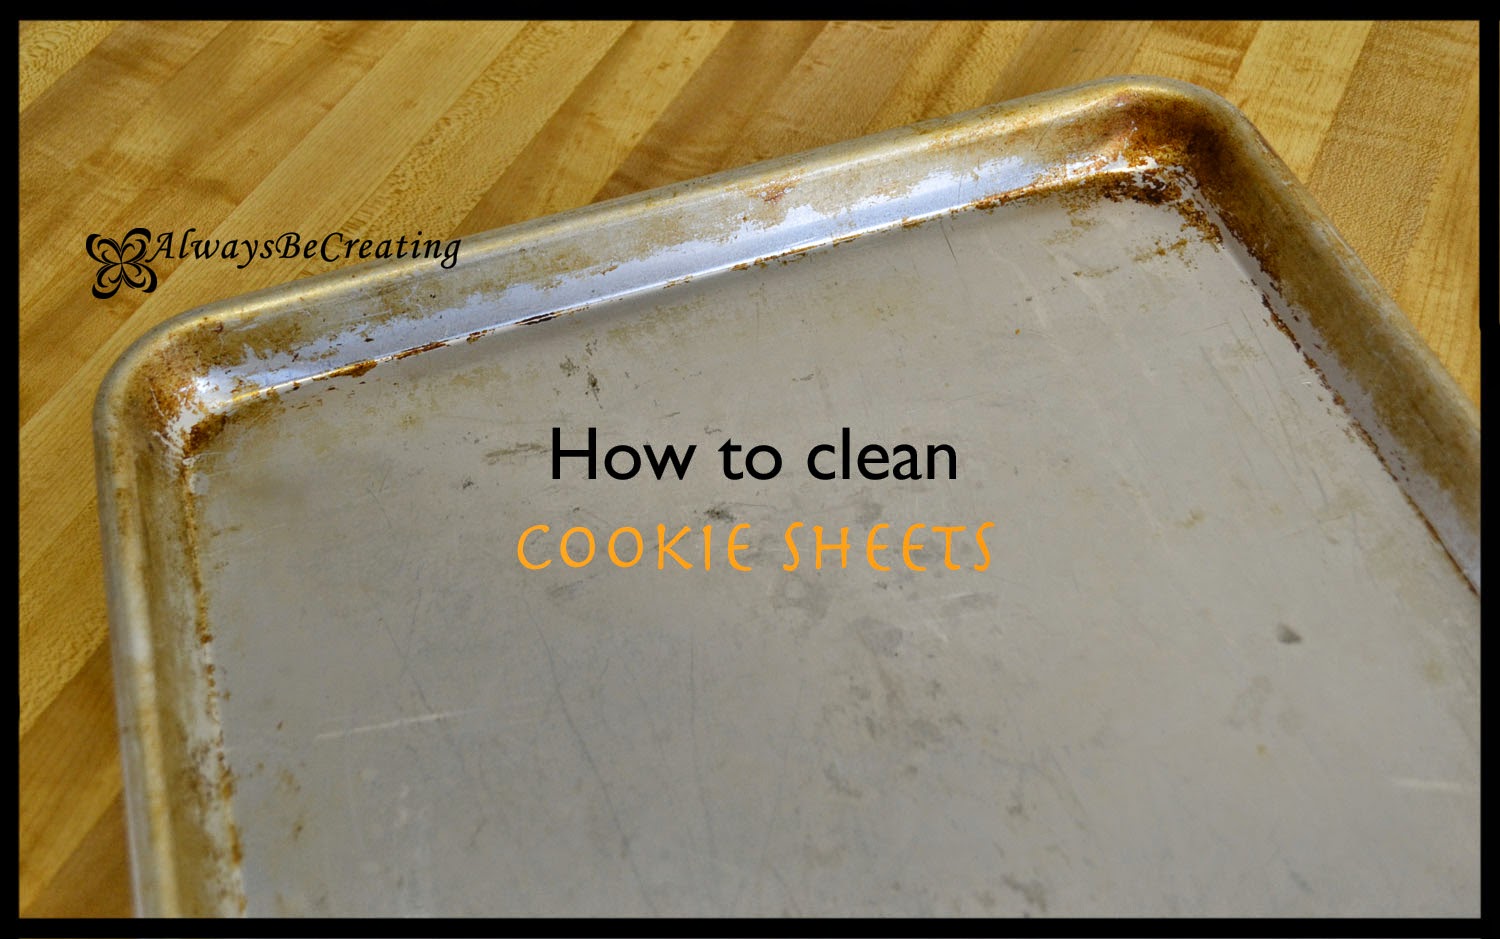
http://49fifty.weebly.com/1/post/2014/03/baby-shower-card-girl.htmlhttp://49fifty.weebly.com/1/post/2014/03/cleaning-the-gunk-off-of-cookie-sheets.html


Week Thirteen

http://49fifty.weebly.com/1/post/2014/03/a-baby-shower-for-me.html


LinkWithin

Related Posts with Thumbnails