5.26.2011

I'm back!!!

Well I had something come up that I really was not expecting...morning sickness, and it hit hard and long. Unfortunately I was just starting a huge {it probably seems bigger than it was because of the morning sickness} project for a friend. I didn't want to get out of bed or even eat because I knew how it was all going to end anyways.

Well I'm doing better now and I have finished her project {pictures to come} and am finally feeling up to creating projects again, especially ones for our little one coming in October.

To start off I want to share one of the simple projects I did. It is just a bracelet and earring set made with the birthstones of my husband, the baby in October and me. It was even easier to do because the 'pearl' beads came already assembled in a chain. I got the other two birthstones and attached them in between. Very simple but I love the way it turned out. Kind of like those big chunky cluster bracelets women are wearing these days but without having to be big and chunky.

2.07.2011

Check it out ~ I've been featured!!

So a couple of weeks ago I got an e-mail from a lady {Jesseca} saying that she wanted to feature me on her blog and was wondering if I would do a giveaway. Well since she was the fist to ask I went ahead and told her I would donate two items for the giveaway. Check out her blog to enter. Good luck everyone!!

I am so stocked about it, I can't wait to see who wins.

AHHH!!

1.19.2011

Can You Guess....

We moved on New Years Eve. I know, not the best time to do it but that is really all that was available to us. My husband just finished his two Bachelor Degrees and so we moved back to be with family. Can I tell you I have loved being around family. We have time to visit everyone, when we used to come down on weekends we already had tons to do and we always felt bad about those that we didn't get to see.

I have a couple of projects to finish up and wanted to share what I have going on.

Can you tell from this picture what we will be making. They are so cute but why buy them when you can make your own and make them exactly how you want them!!! It might take some time but trust me, well worth it.

Not everything is where it should be since we have moved and I can not find my wire cutters. The gold beads have wire stems and I'll need to trim them down. So for now you will just have to wait in anticipation. Trust me, it will be worth it.

11.04.2010

Cute Little Santa

Oh my goodness, I'm in love.

For the Holiday Season I decided that I wanted to try and make a Santa Hat. After looking on line I found a pattern that I thought would work. Boy was I wrong. I don't know if I misunderstood the pattern or if it was the pattern it's self but it was a NO GO. So instead I decided to design my own. I LOVE it! My neighbor was wonderful enough to let me take some pictures or her little boy with the hat on. He was going to stay asleep no matter what so we took some pictures anyways.


Look at how cute he is. I must say, I really like the Santa Hat too!

11.02.2010

HOPE Festival

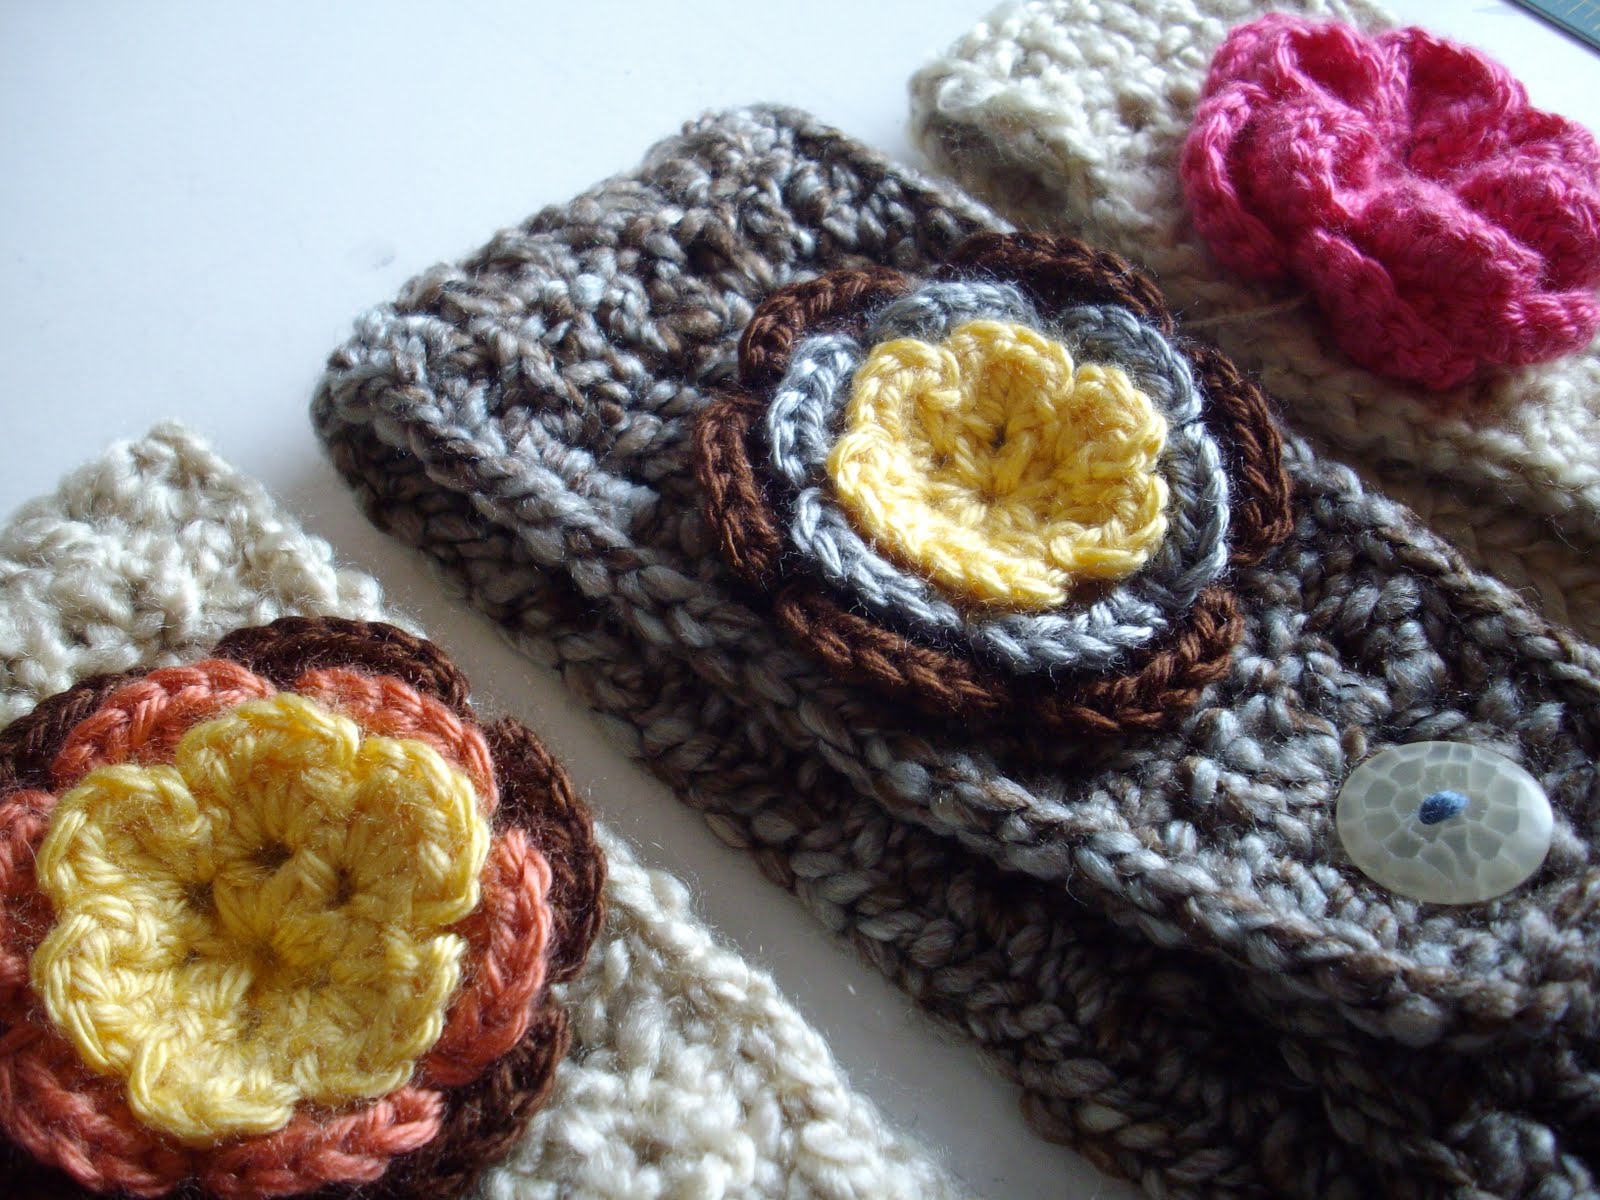
This year at the HOPE Festival I took a number of custom orders. My big hit this year were the Down Town Head Wraps. Here are a couple of the custom orders. I also had a lady order a beanie for here grand-daughter. I love how they all turned out. Let me know what you think.

These fun wraps are what I'm making for Christmas gifts this year.
They'll go perfect with the scarves from last year.


This is a fun new beanie a just started making and they were a great hit as well.

10.14.2010

Personal Notepad

I created some simple order forms to take with me when I go to the HOPE Festival on Oct. 27th. To help keep everything together I wanted to put it all together in a notepad but I didn't want to pay for something so simple that I was sure I could do myself. So here it is - so simple and would be a fun craft to do with your kids {my niece and nephew}.

You'll need: paper, stamp and ink set, cutter of some sort, glue and some REALLY heavy books.


First you will need to create you design. I used a computer program since I was making order forms but this would be great to use stamps. Just get your favorite set and some varying ink pads. I printed mine first and added a guideline to the first page to help me cute in the right spot. If you are using stamps it might be easier to cut your paper to the desired size for the notepad.


After you have you notepad papers cut with their designs on them you are going to line them up. Make sure the edges that you want the glue to be on {in my case the top} is lined up as straight and flat as possible. Then you'll take your heavy books and place as close to the edge to be glued. This helps keep the notepad tight and keeps the glue from seeping into the separate sheets.
*Note with my books the binding edges didn't really lay flat on my papers so I turned them so the straight edge of the cover was right up to the edge.


Next, use the sponge to add the glue to the top of the flattened notepad papers. You can use your fingers or whatever else you might have around, this was just the easiest for me. After adding the first coat let it dry and add a second coat. My layers were pretty thick so I only needed 2 layers but add more if you think it's too thin.


Tada: your own personal notepad. If you are wanting more than one pad, stack up the paper in one pile. After the glue binding is completely dry, divide your notepad and just pull apart.


If you work on this tutorial I would love to see what you came up with!!

LinkWithin

Related Posts with Thumbnails